One of my goals as a Mom has always been to make things magical for my family. I started hanging witch hats and candles from my ceiling during the Fall several years ago and my family loves these whimsical, slightly spooky decorations. You can buy the hats, candles, batteries, hooks for hanging, and clear fishing line I used simply by adding to your cart. Everything I used can be purchased on Amazon, and it all can be hung without damaging your ceilings or walls. One more thing to note is that the candles also come with suctions cups and hooks to adhere them to your windows to use during the Christmas season. Now go make some magic in your home and enjoy!
A few weeks ago, I spent a few days with some dear friends while traveling with three of my kids. The entire time I was staying in their home, I felt so relaxed. Traveling with kiddos can certainly be stressful, but this trip was remarkably smooth. As I was driving back home, I started thinking about why my stay was so delightful. I truly enjoyed the time with our precious friends. They made the kids and I feel so welcome and comfortable. I think much of what made the trip so lovely was the guest room where I stayed.
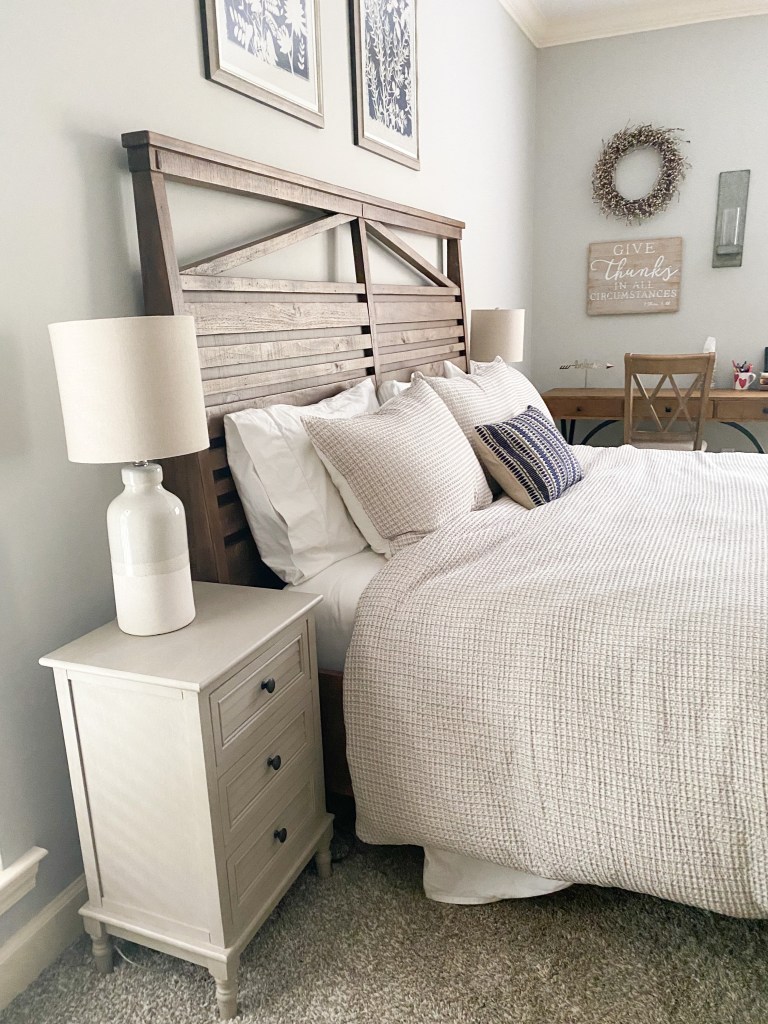
A few things really made the room stand out in my mind. The bed was comfortable and had plenty of pillows and blankets. The sheets were soft and there was a basket near the bed with extra blankets. Nightstands and lamps within easy reach of the bed were a huge plus.
The room was uncluttered. As you can see in the pictures, the room was not at all sparse, but plenty of spaces are left open. I stayed in the cutest bed and breakfast with a bestie a while ago. It had so many knick knacks that we couldn’t find our own things amongst the decor. Having uncluttered spaces to put my jewelry, toiletries and clothes was a game changer for me!
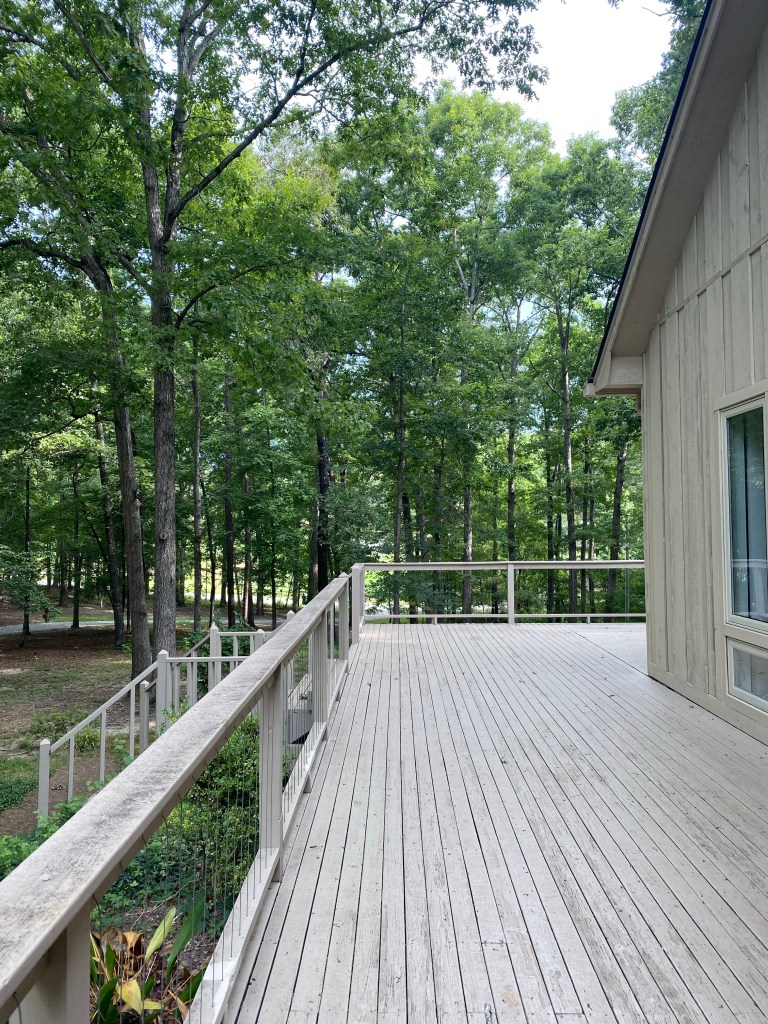
This one is really personal preference, but having window coverings that kept the room dark at night and let light in during the day was surprisingly pleasant. I shared the room with my 8 year old son, so darkening the room at night was essential. When we woke up in the morning, it was so nice to open the blinds and look outside.
The ensuite bathroom was amazing and fully stocked with fluffy towels and toiletries. Having a bathroom so close was really convenient, especially since I was sharing the room with my little guy. A couple of years ago, my Mom and my Nana came to stay with us for a weekend. I mentioned to them that we were looking for a house. My Nana immediately piped up and said, “Try to find a house with a guest bathroom!” I laughed and laughed. Who doesn’t want to share a bathroom with four kids? 😉
In the stage of life with a houseful of kiddos, I don’t have a designated guest room. But, staying here really helped me see how I can make the room where our guests stay more accommodating and comfortable. When you’re traveling, what makes you feel comfortable? Drop me a comment and let me know!
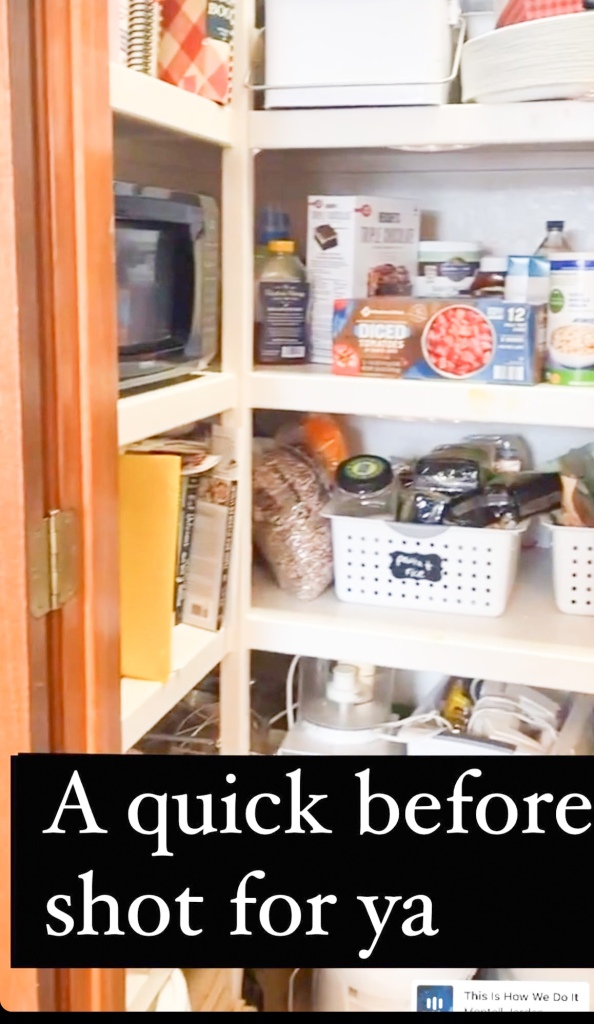
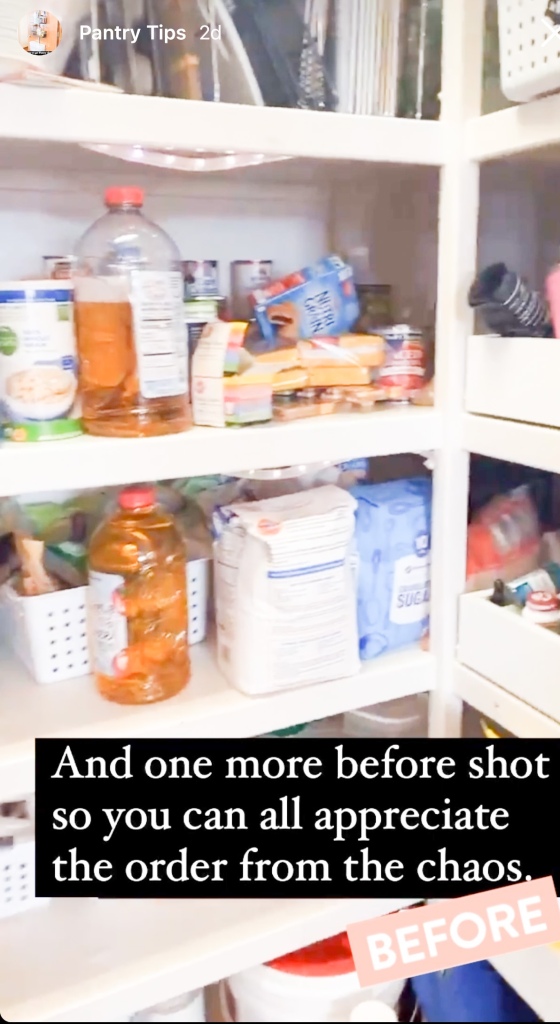
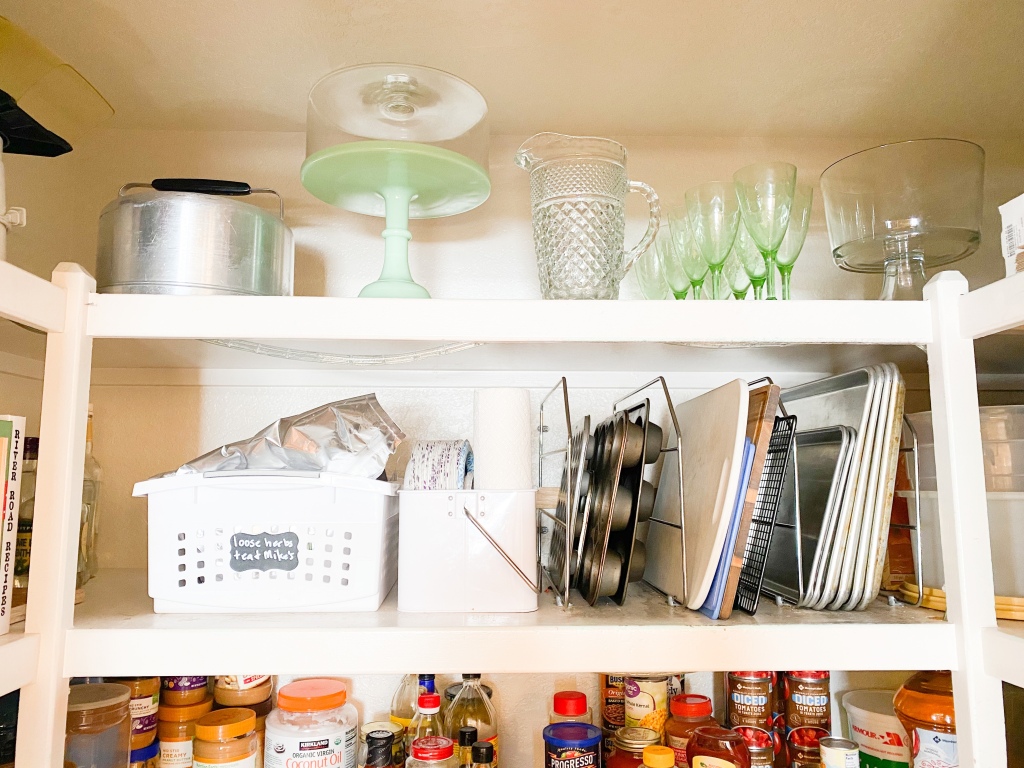
My hubby and I spent some time decluttering and reorganizing our pantry over the weekend. I love a good before and after, so here are a couple of very rough before photos taken straight from my Instagram stories.
Step 1: We unloaded each shelf, one or two shelves at a time. I didn’t empty the entire contents of the pantry all in one fell swoop. The goal of this project was to create more peace and organization. I knew that if I unloaded the entire pantry and covered every single space of my kitchen and dining room with the items from the pantry, I’d get overwhelmed. First, I took out all the cookbooks and went through them. I wiped down the cookbook shelves and put the cookbooks back. Next, I took all our paper plates, plastic cups, and basically any disposable product out of the pantry and organized them. I wiped down the shelves where they had been stored and put them back.
Step 2: We went through each group of items that we’d removed from the pantry. We dedicated one area of our kitchen as a space to put things that will be donated and placed unused items there. As we worked, Justin would bag things up from this area and take the bags to the garage to eventually donate. We were snowed in during this project. We would typically put the bags of items to donate directly in the back of my van so that I could donate them as soon as possible. That little trick actually helps me a ton. I really don’t like having random bags in the back of my van, which motivates me to take care of donations quickly.
Step 3: We wiped down the shelves and bins that were holding the items we’d gone through. I honestly didn’t think I’d do this at first. I like to think I’m a fairly clean person and felt that I was maybe a bit above needing to wipe out the shelves of my pantry. Pride comes before a fall…the shelves and bins needed to be cleaned out in a bad way!
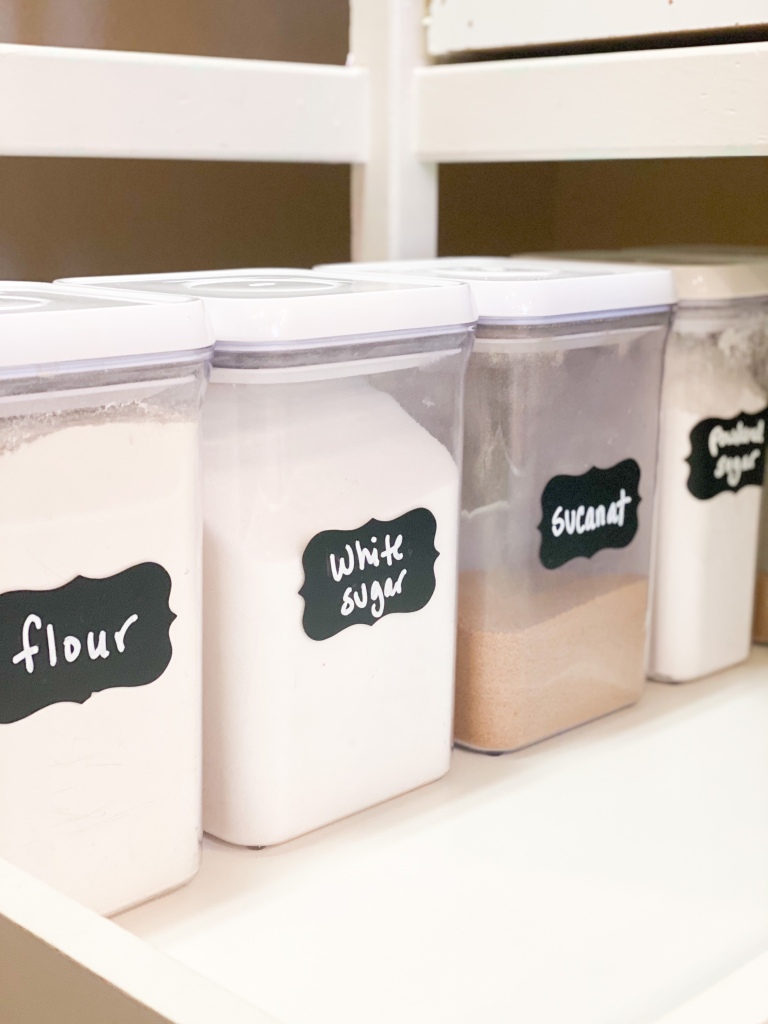
Step 4: We put everything back in a way that functions well and looks good. This final step is key! To help your storage space make sense, it’s good to group similar items together. I try to keep canned goods, glass bottles and condiments all on one shelf, but in separate groupings. Storing all of my baking supplies in one space brings great efficiency to my pantry. I love these Sterlite bins for open storage, these Oxo containers for baking supplies and this set of chalk markers and labels to keep it all labeled. If you have some serving pieces that you’d like to see, put them on shelves that you can see when you open the door. I stored my cake plate, a vintage cake carrier, some family heirloom wine glasses and a glass trifle dish on my top shelf so that I can see them whenever the pantry door is open. What I don’t see every time I open the door, are two shelves stacked with not-so-pretty large storage containers that I use often. I like that they’re easily accessible, but they’re not in my direct line of sight. We also keep our microwave on one of the side shelves of our pantry. This is purely a personal preference, but it’s a big priority for me and I’ve had my microwave in the pantry of all our homes. I like being able to use it fairly easily, but I don’t want to lose counter space, or over the oven space to a microwave.
Finally, there are a few things that my husband and I do to help us stay on the path to productivity when taking on a big project like this. First, we really try to start early in the day so that we can finish the project by dinnertime, or even bedtime that night. I don’t know about you, but a cleaning project that takes multiple days is not my cup of tea. Secondly, we each take breaks as we go. Our kiddos were in the kitchen just a chitty-chatting with us during this entire process. We both needed to step away from time to time so that we could have patience with the kids and get back to work with renewed energy.
Another thing that really helps me to stay sane and productive when doing projects at home is to not compare my home to others. My home doesn’t need to look like the cover of a magazine. I do love the look of a perfectly appointed pantry, with every single thing decanted and in matching bougie bottles, but that’s just not my reality. I have four kids who are all learning to cook right now. I often cook three homemade, from scratch meals on the daily. I don’t have the time or energy to stop them and say, “oh honey, please empty that dried pasta into the breakable container that’s labeled in Italian, okay?” Maybe that will be my reality someday. When I’m an empty-nester, you can all come and look at my pantry and ask me how I made it so perfect. I’ll tell you that it’s because the kids moved out and quit needing all our money and emotional energy. And one final tip on how to get a big ole project like this done is to try to laugh and have a good time. I know that sounds so cheesy, but it’s true! There are plenty of stressful moments, just ask our kids, but we’ve found that if we can laugh at and with each other, we have more fun and are more productive. Here’s the final after shot of our pantry clean out. Drop me a comment below and share any tips that help you conquer the big projects in your home!
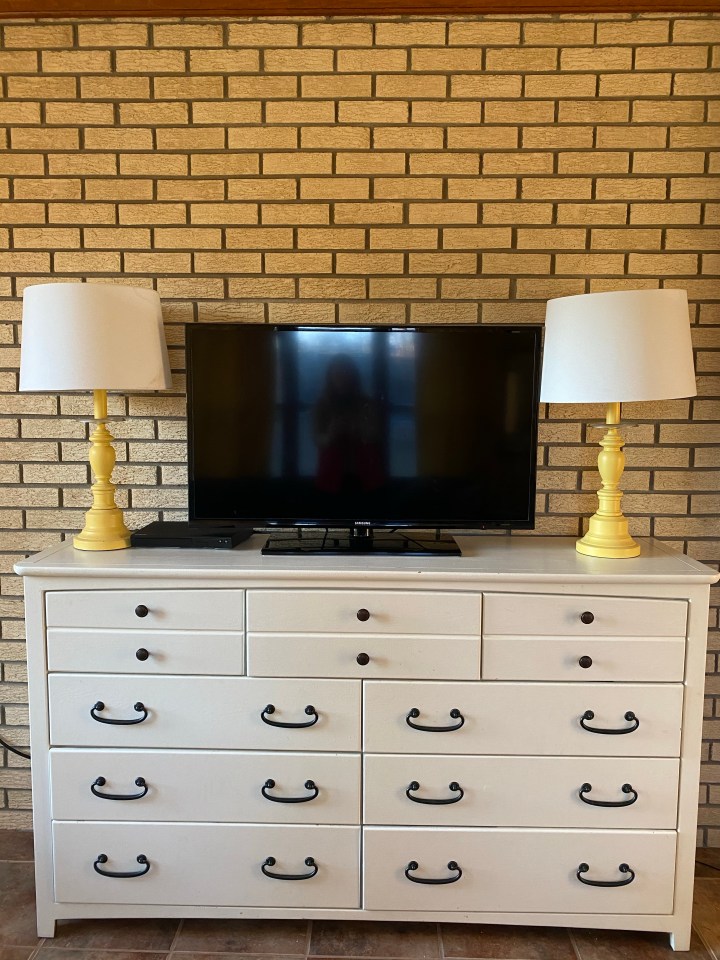
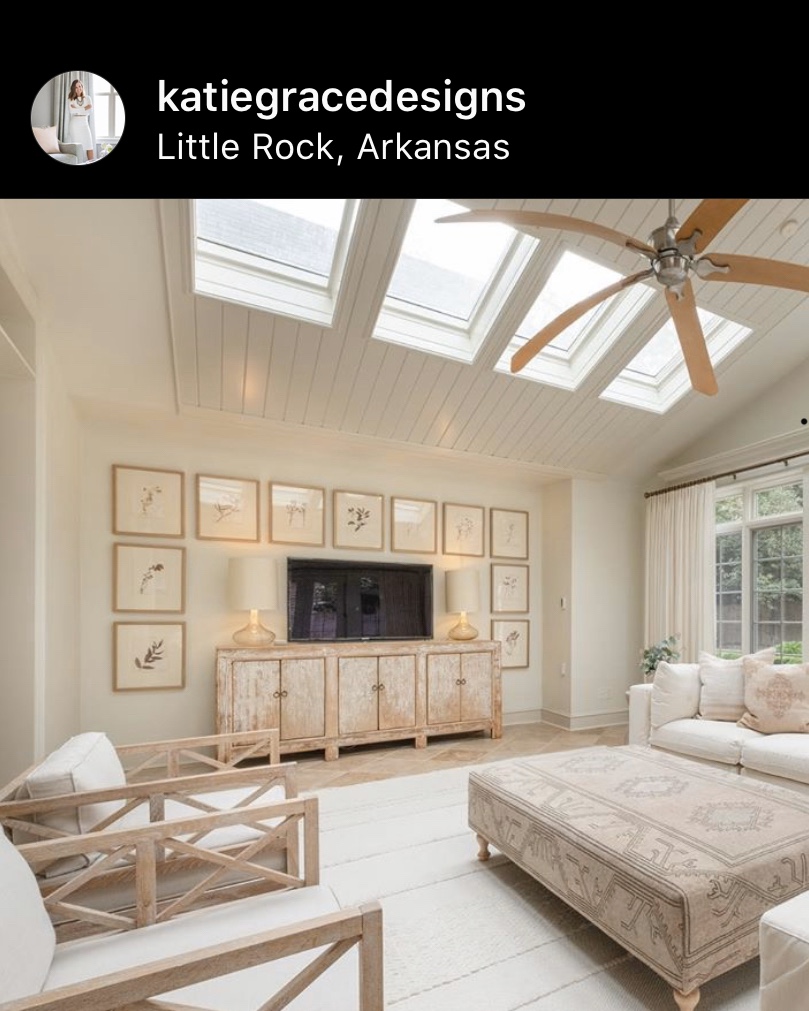
We bought our girls this tallish, fairly long dresser when they were toddlers. As they’ve gotten older, they’ve needed more space, so we bought them two separate dressers and moved their old dresser to the garage with plans to sell it. We’d just moved when we bought their new dressers and I wasn’t quite sure how to configure all our rooms. I was in need of a piece of furniture for our sunroom to hold our TV, some dvds, remote controls and video games. After scouring the internet for inspiration, and coming across the photo below, I realized that the girls’ old dresser would be a perfect fit for our sunroom and it would barely cost me a dime. I changed out the drawer knobs from pink porcelain knobs to oil-rubbed bronze nobs and voila, I had the perfect dresser for our sunroom. Inspiration photo here from one of my fave Arkansas designers:
After using the dresser in the sunroom for a couple years, I realized that at least two of the drawers have been sitting empty for some time. I asked my hubs if he could convert the two empty drawers into one big drawer to use as a filing cabinet. Our current filing system consisted of two hard plastic file boxes that are on a shelf in a closet. As you can imagine, this filing system isn’t user friendly and our paper clutter has been piling up and driving me batty.
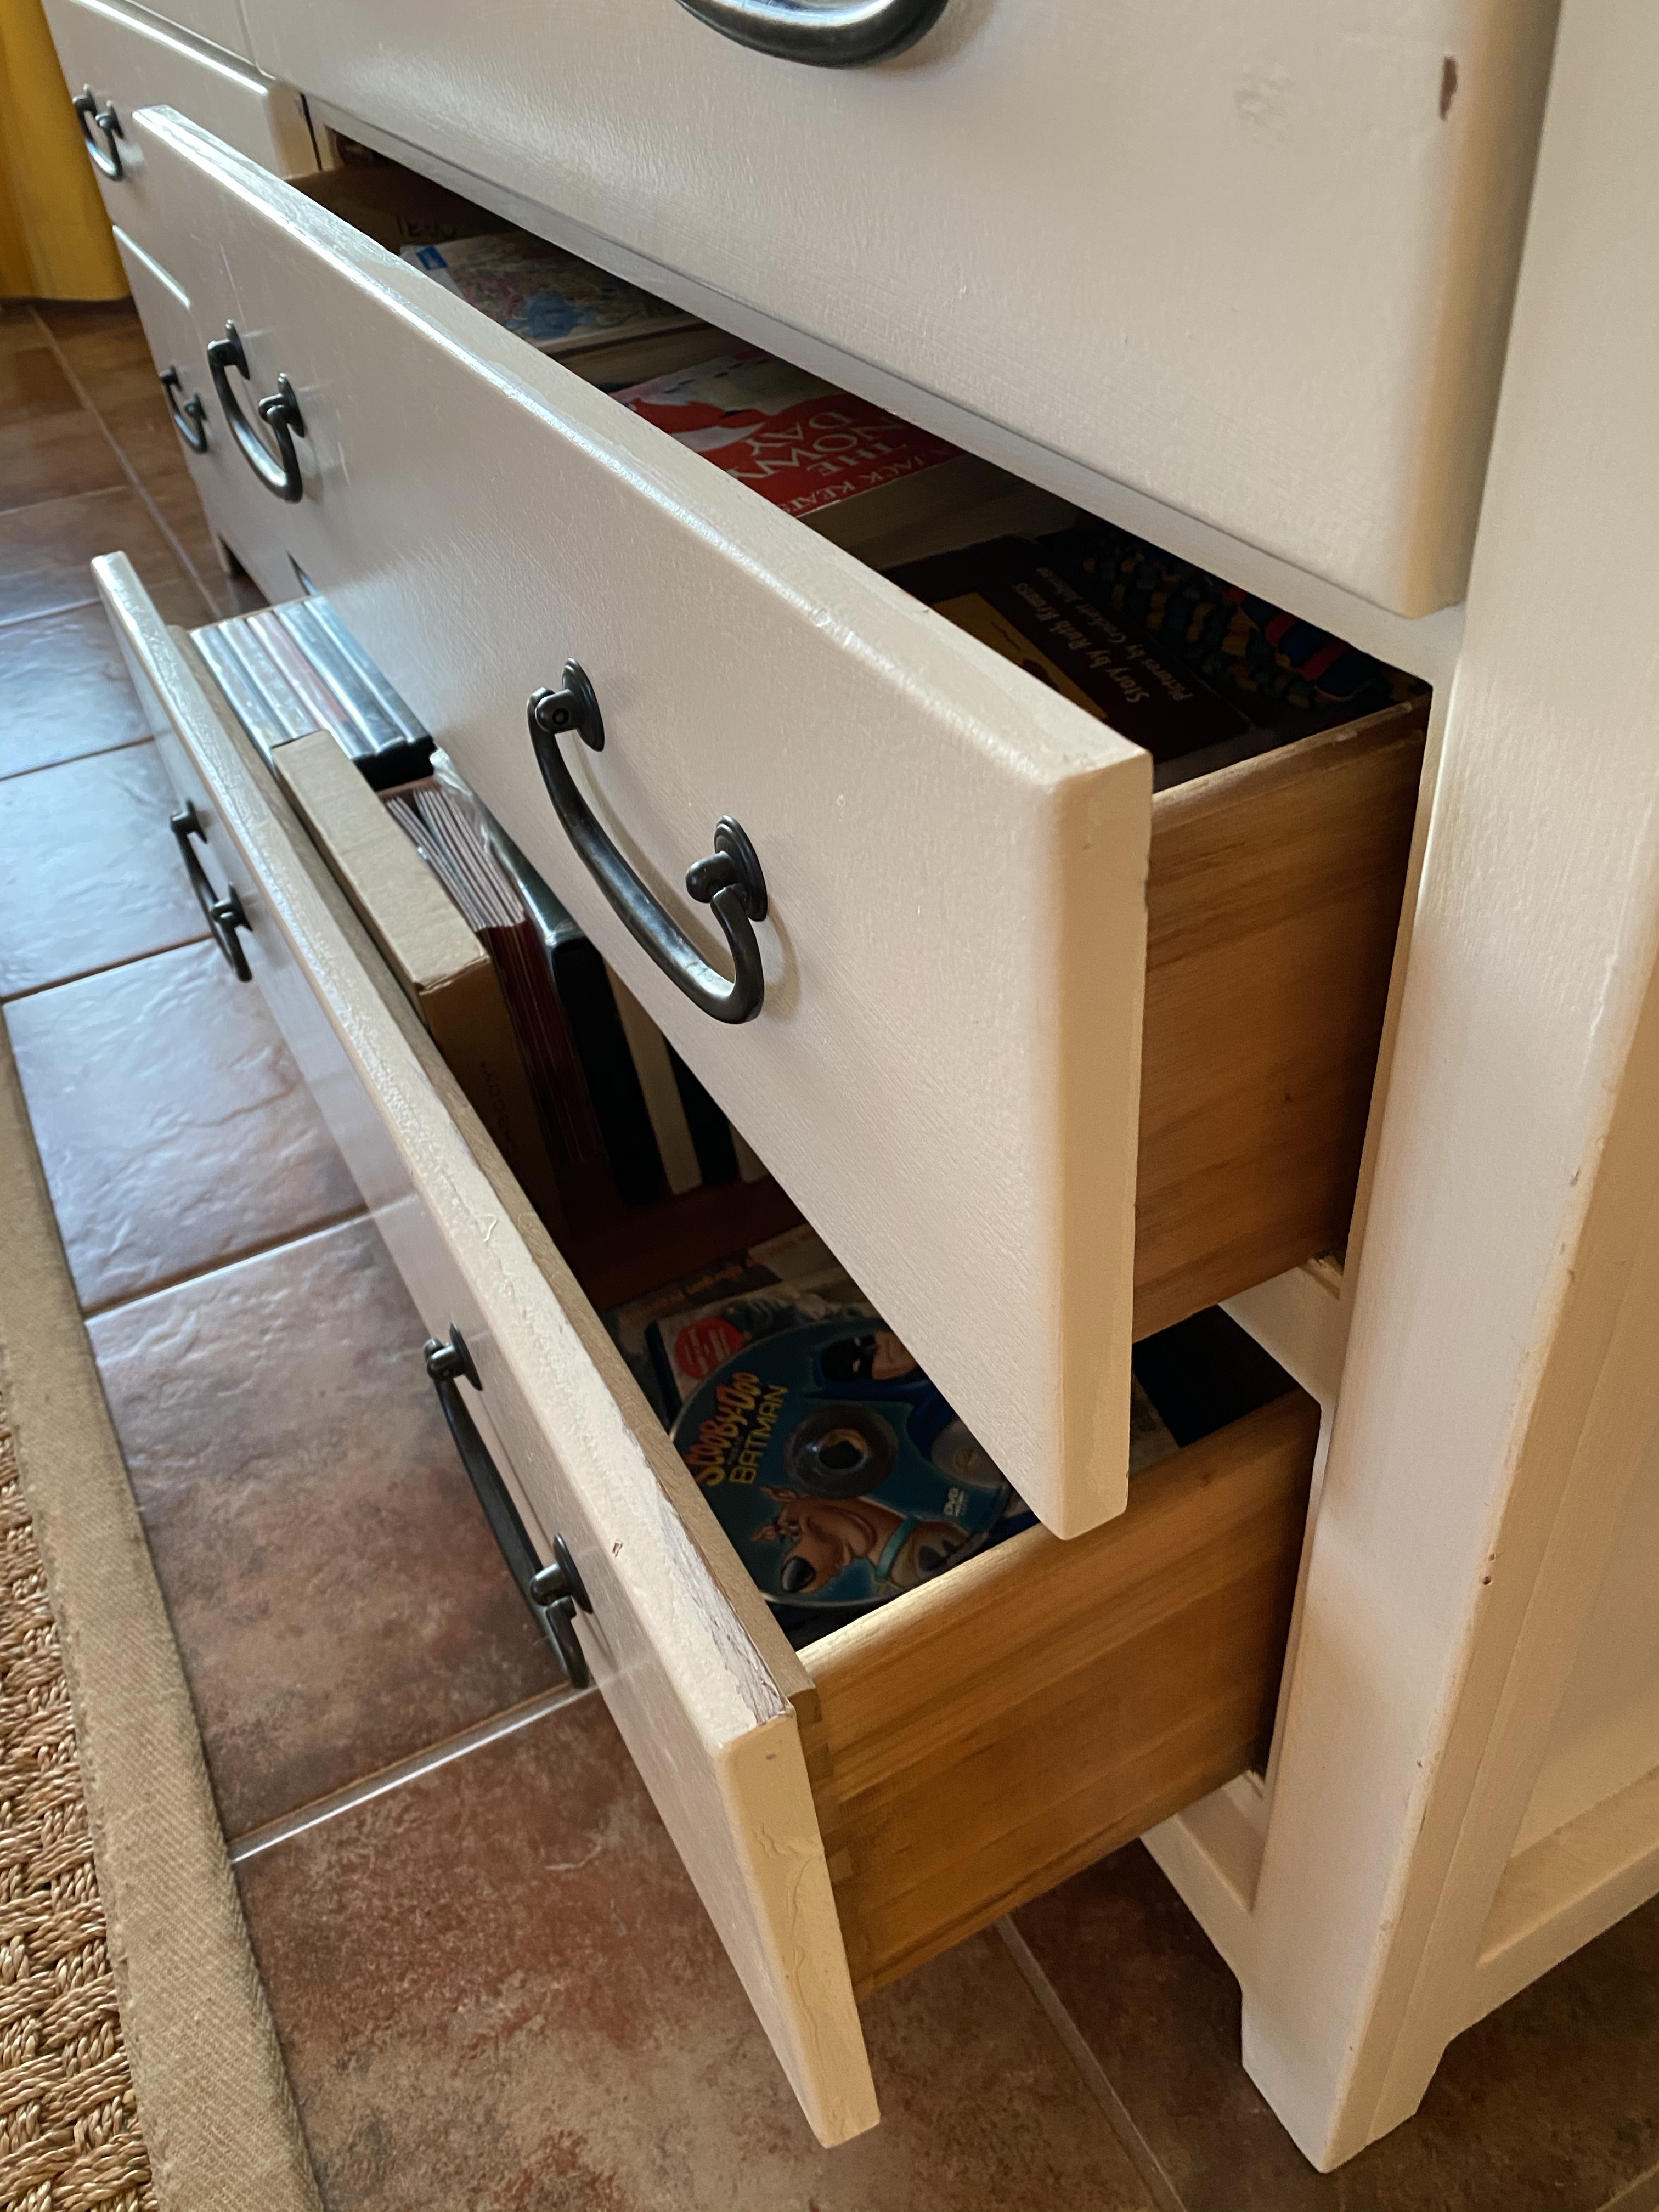
The two bottom drawers on each side of the dresser looked like this before my man converted one side of the drawers into a single drawer to hold files.
In order to convert the dresser drawers into one drawer, Justin removed the drawers from the dresser and then removed the screws that attached the drawer faces. He then built one large drawer box using half inch plywood and used pocket hole screws to assemble the drawer box. He bought heavy duty glides for the drawers and installed them onto the side of the drawer and the inside of the dresser. To hold the files, we bought this metal file frame at Office Depot. I went through my files while watching Taylor Swift’s Miss Americana on Netflix…the documentary was so good and it definitely made going through my files more fun. I used this article for reference.
Above is the file drawer with the frame in it and a few hanging file folders.
This little project has brought so much ease and organization into my home. Being able to get to my files quickly without having to squat down on the floor of a dark closet and dig through one of two file boxes is a game changer!
For reference, this dresser was originally a medium brown. I sanded it a little bit, primed it, painted it with one coat of flat paint by accident and then went back over it with one or two coats of semi-gloss latex paint in China White by Benjamin Moore. The finish has held up well for quite a while, in spite of my very imperfect paint job. 🙂