As a small business owner, referral and repeat business are the biggest compliment to me. So, when a friend of my dear client Amy James (see her beautiful kitchen remodel here) reached out to me to help her with her master bedroom, I was honored. We jumped in with both feet and got cracking on this lovely space.
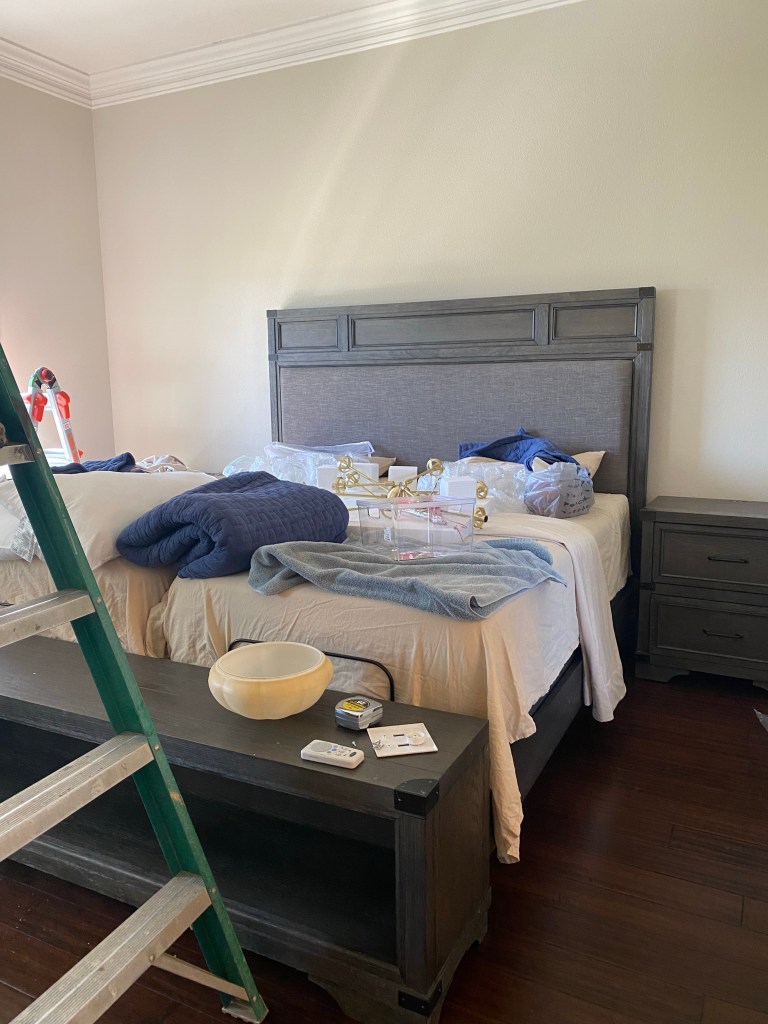
The Salinas fam lives on a mini-farm with their five kiddos and I had a ball getting to know them. In fact, the youngest Salinas child now regularly sends me video chats. Have I said lately that I love my clients? Because I do! Back to the design work needed…Angela and David Salinas have a nice sized primary bedroom with new furniture and dreamy new windows. They just needed my help in discovering their own personal style for this room. I met with Angela and David and asked them questions about the function of this space, their daily lives within their home and what design styles they prefer. I ended up designing 4 different vision boards and we moved forward with the design.

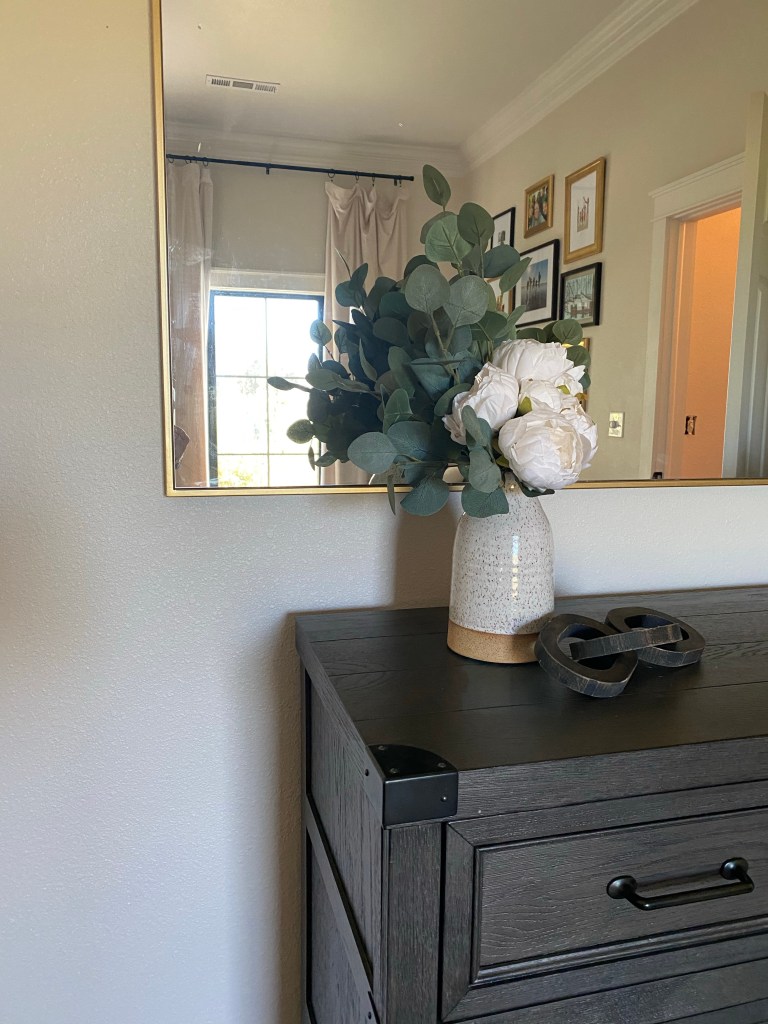
Angela and I collaborated on this project as we gathered each element of the design. Angela is a talented photographer. She combed through years worth of photographs to find her favorites for the wall arrangement that we hung in the room.

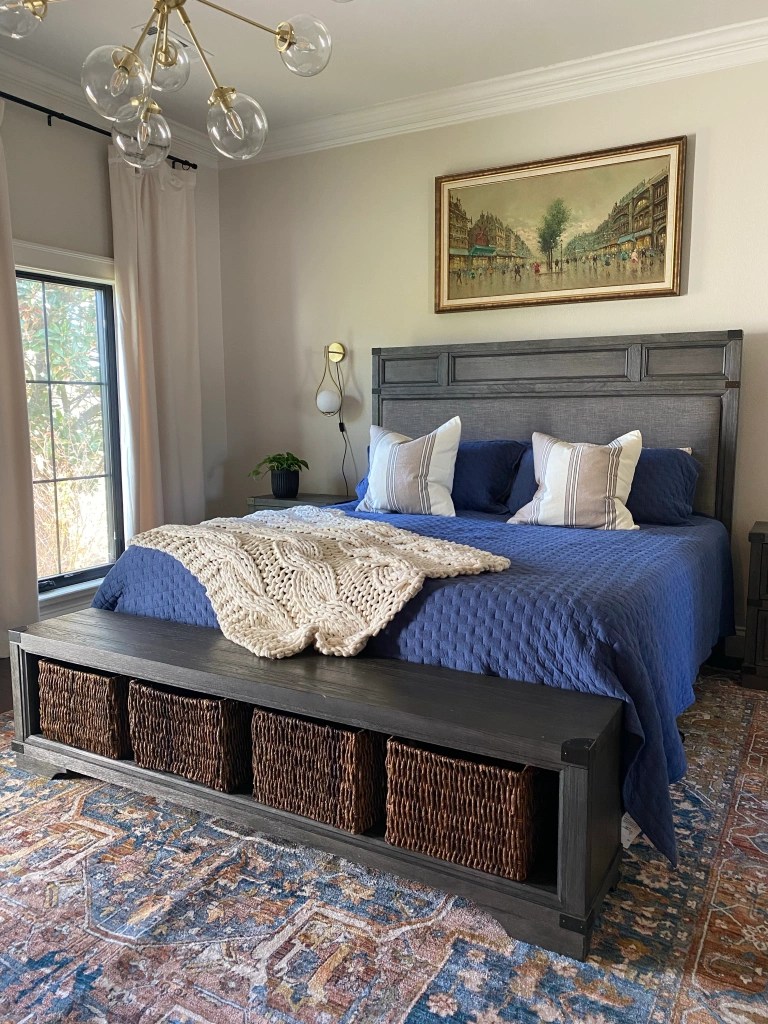
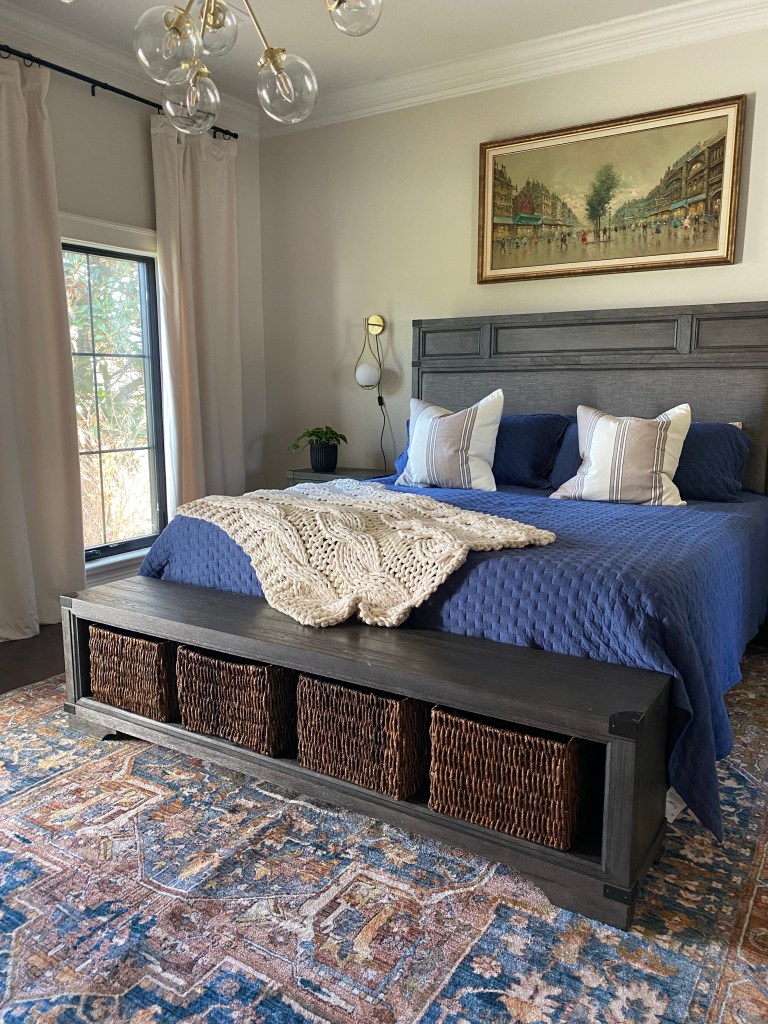
Angela and David also really enjoy original, unique art. The painting above the bed is an original piece that Angela found on Facebook marketplace. We carefully transported it to Hobby Lobby and had it framed. This painting is one of my favorite elements of the entire space.
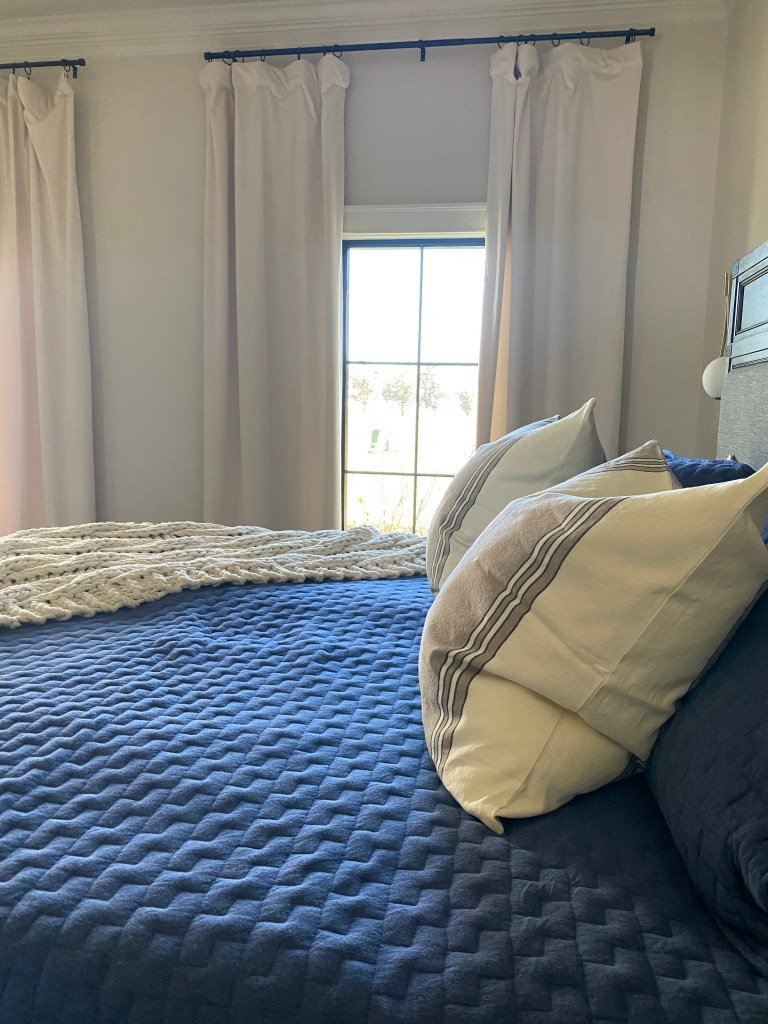
The sources for this room are varied between Wayfair for the couch, Amazon home for the rug and drapes, Company Store for some of the bedding, Pottery Barn for most of the pillows and other things were gathered along the way as she and I both shopped for this space. We both pored over color choices for the room, and Angela ended up selecting the primary paint color and it is one of my favorites. One of my goals as a designer is to help each client define there own personal style, and I feel like Angela and I really honed in on what she wanted for this space.


I had a ball installing this master bedroom with the help of my precious installer and an amazing electrician. Angela and David were a lot of fun to work with and I truly love how well this space came together.