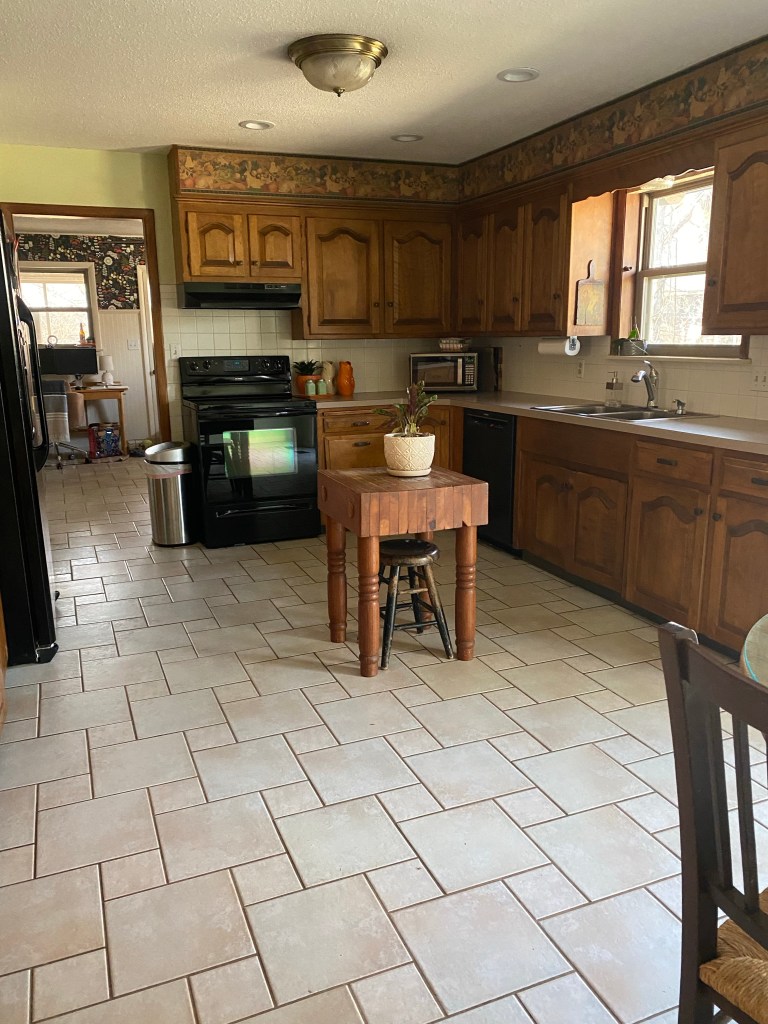
When my friends, John and Kim Marquette, asked me if I would help them design their kitchen remodel, I immediately said yes. Their home has always been a favorite of mine. It was built in 1967 and the kitchen had only seen minimal updates since then. The kitchen was very well constructed with solid wood cabinets, an extra sink, and a nice long peninsula with plenty of seating for the Marquette’s large family. Kim and John are the second owners of this home and have loved it so well! You can see a couple of before photos below.


Because the kitchen was fairly well-designed originally, we chose not to change the original footprint. We had can lights and a couple of pendant lights added and some extra, much needed plugins were added by their son-in-law. Take note local friends, Marquette’s son-in-law is a skilled electrician who has done work for me and other clients. Feel free to message me for his contact info.


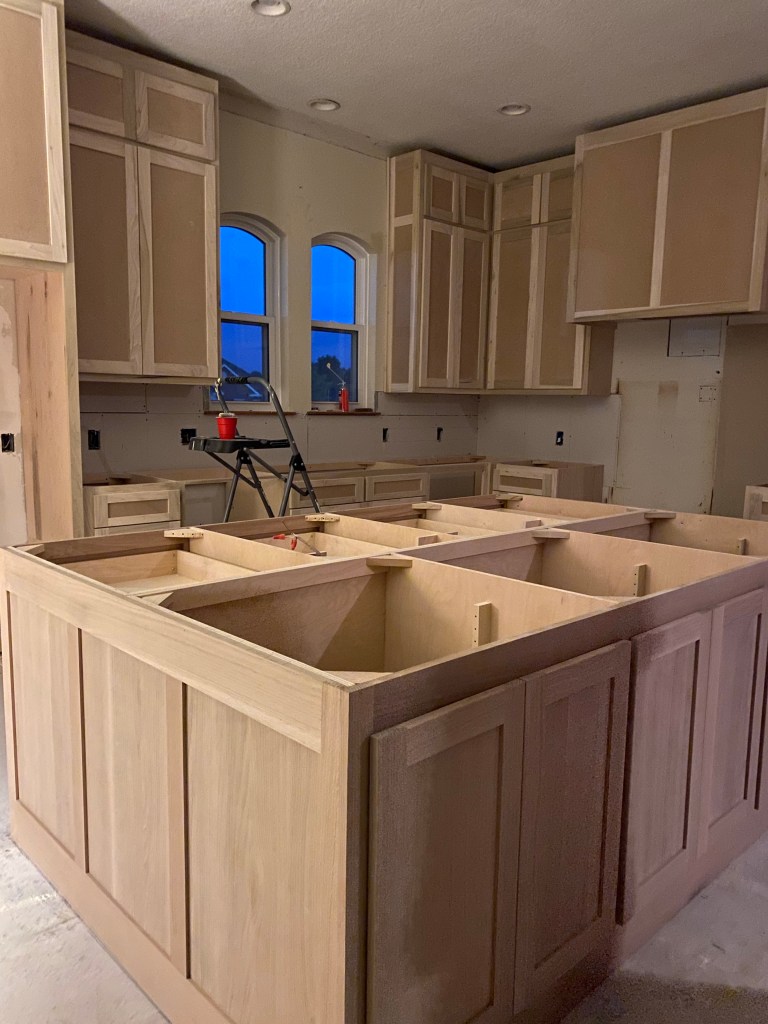
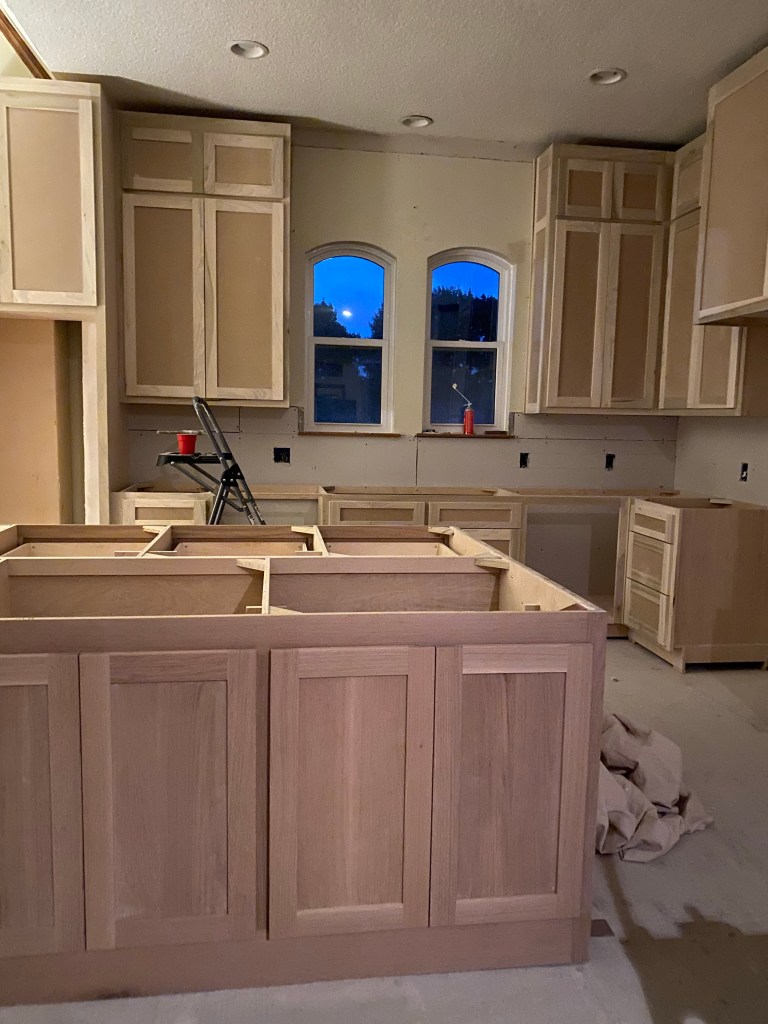
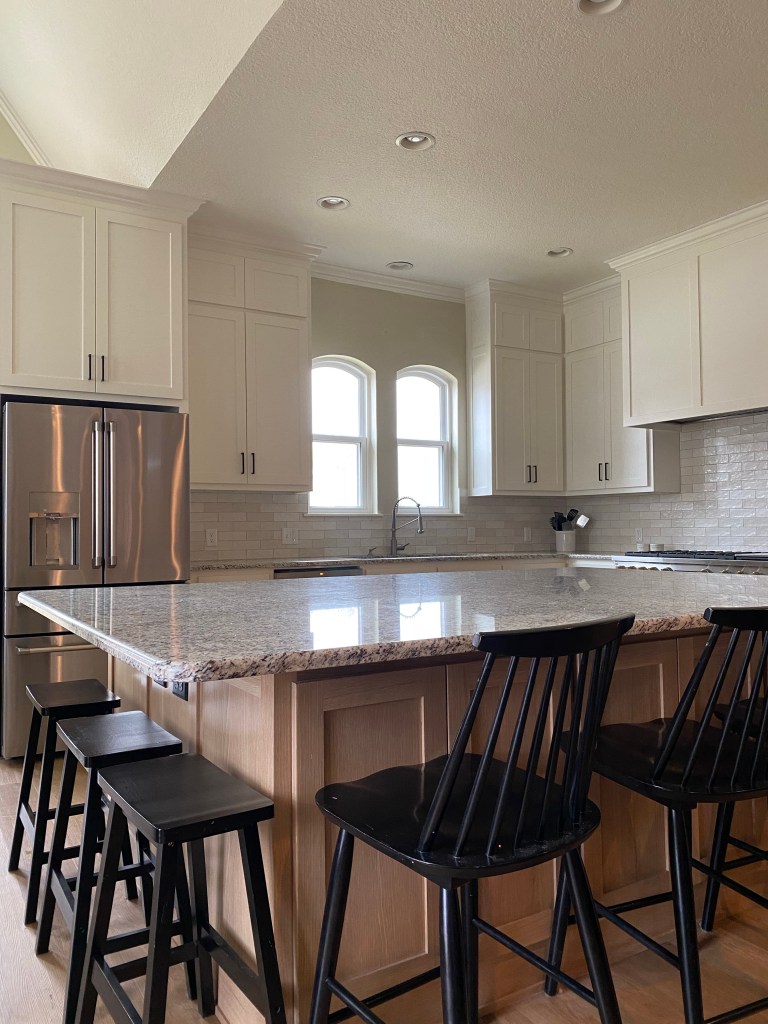
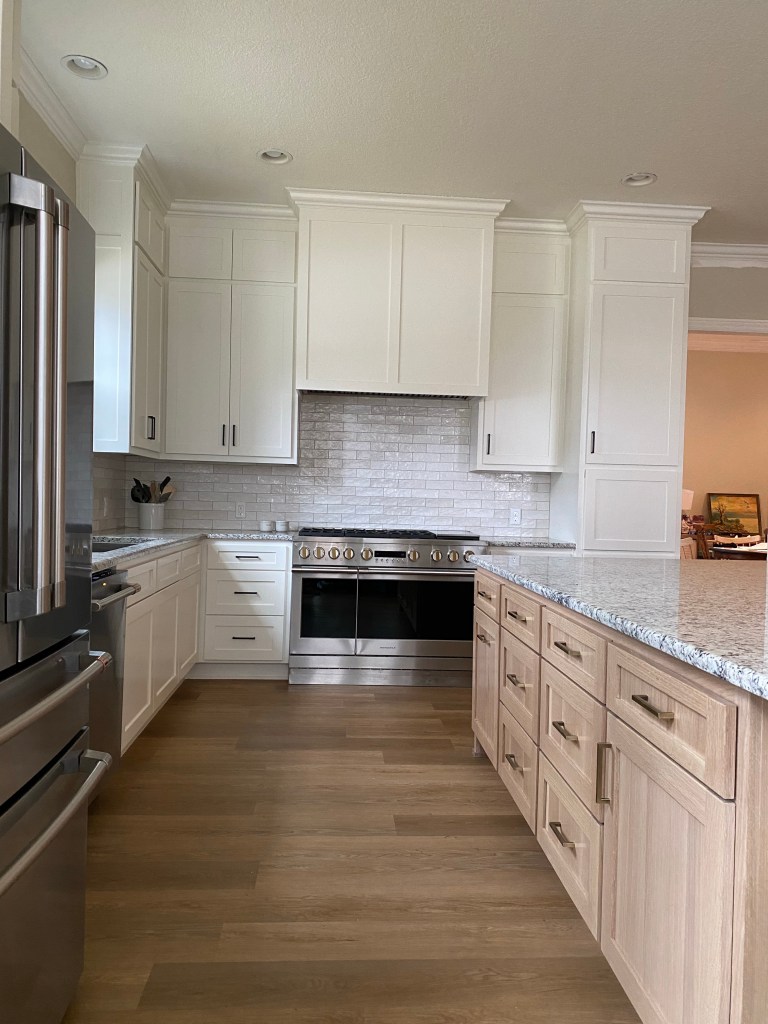
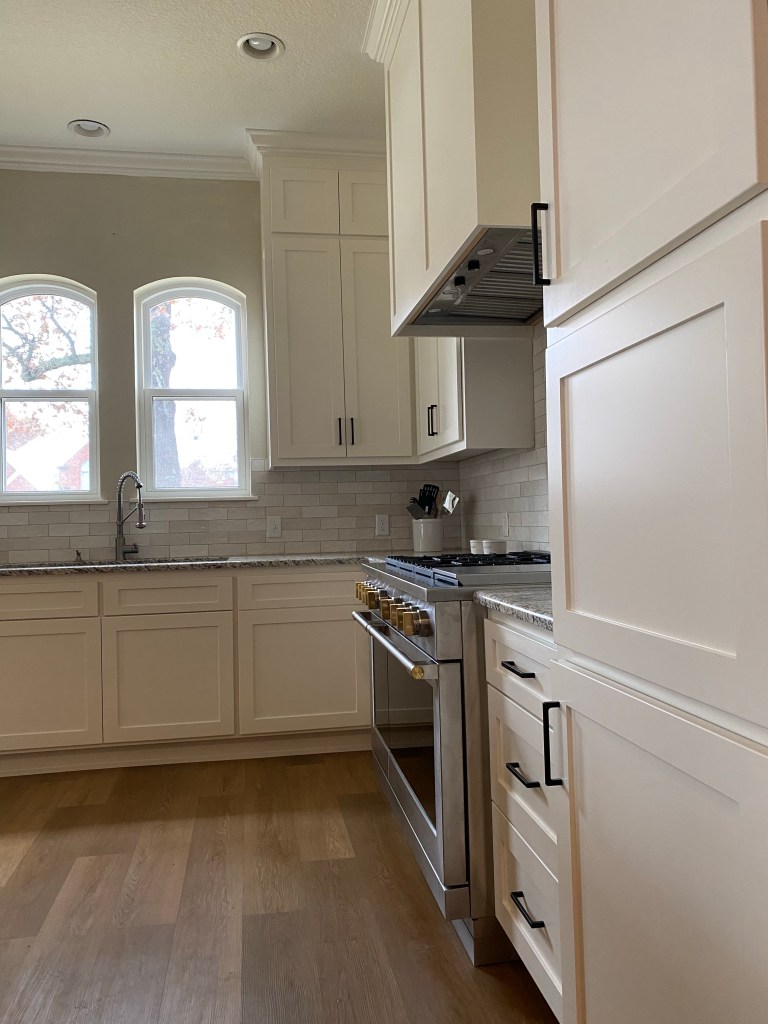
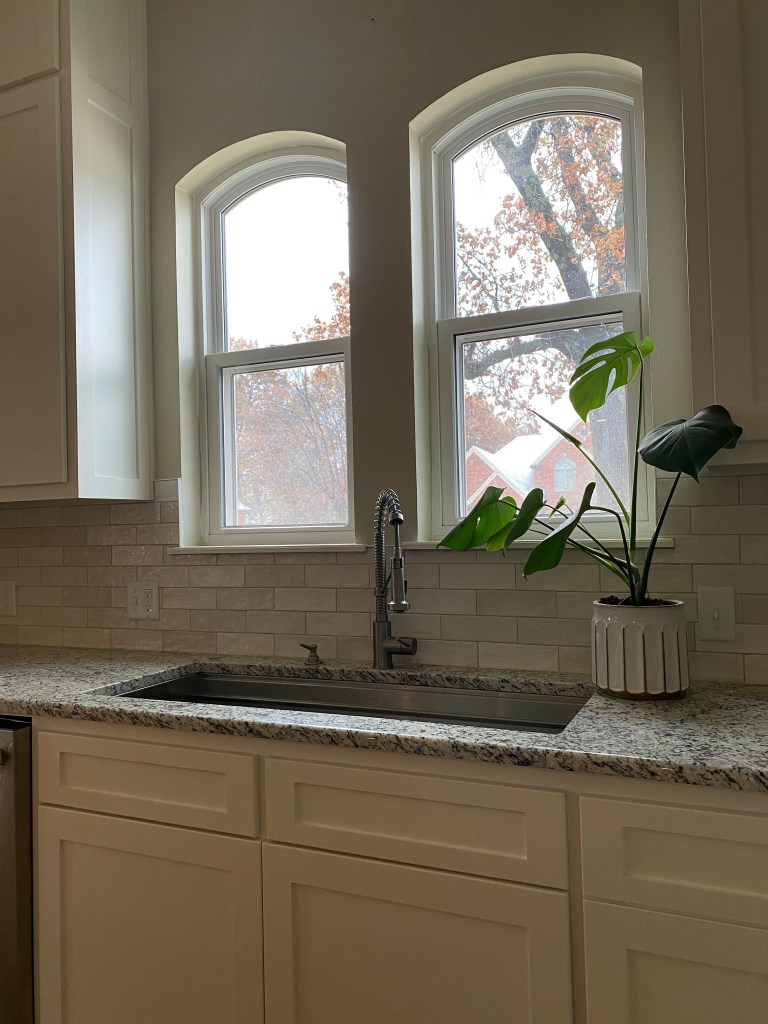
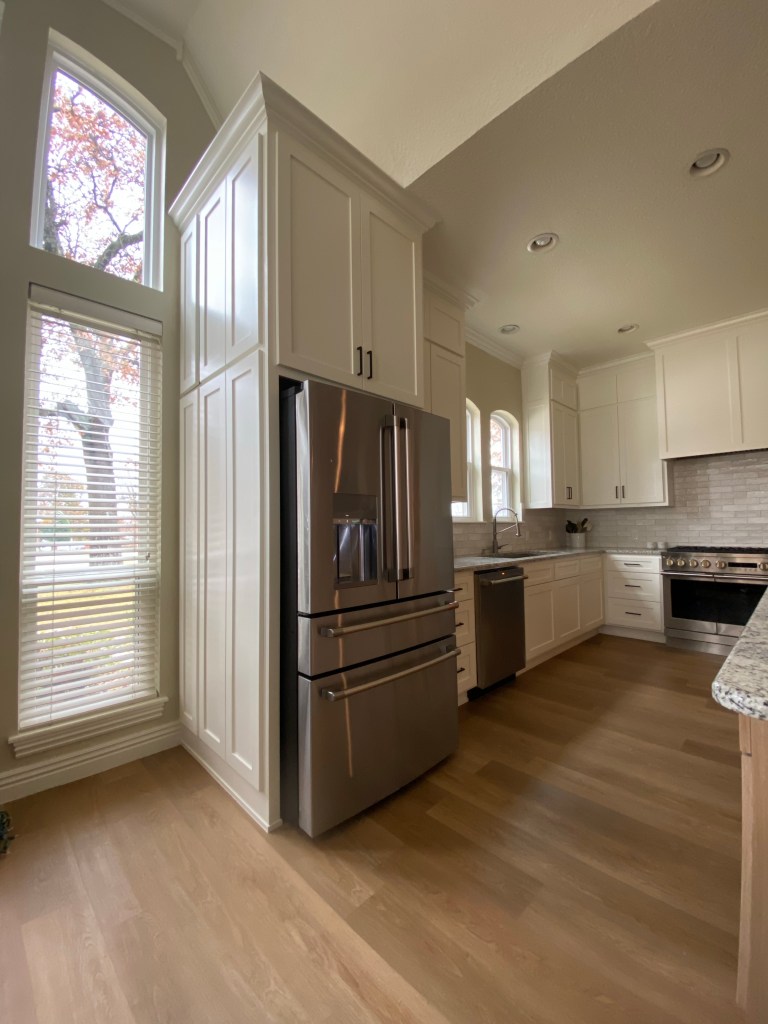
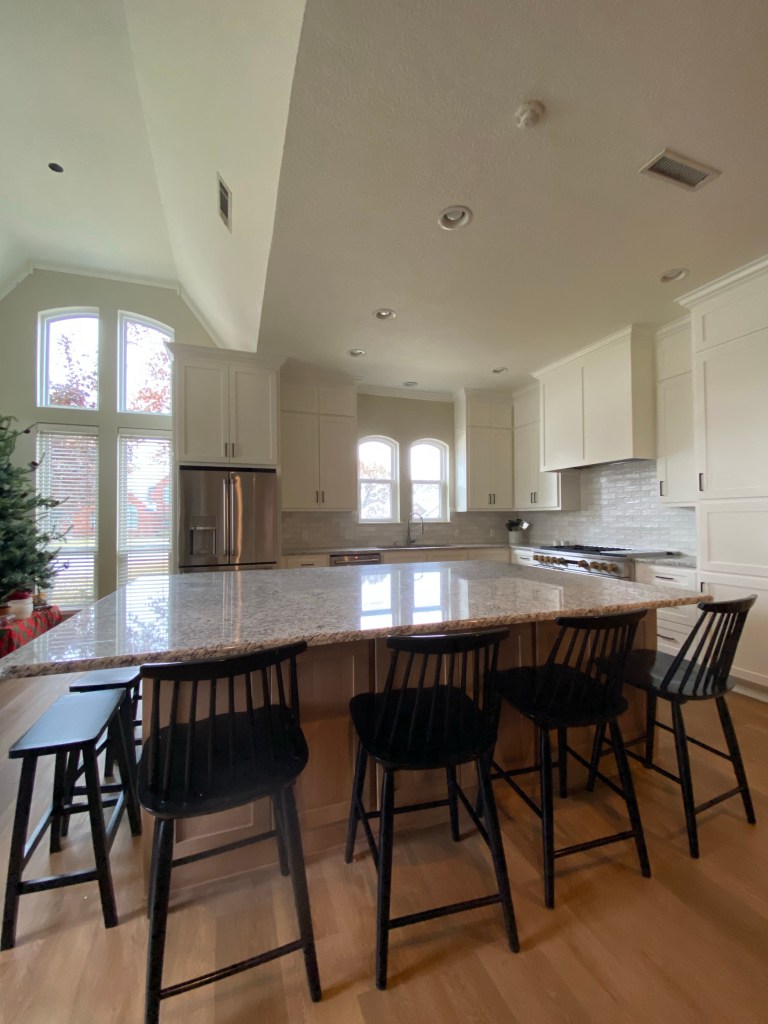
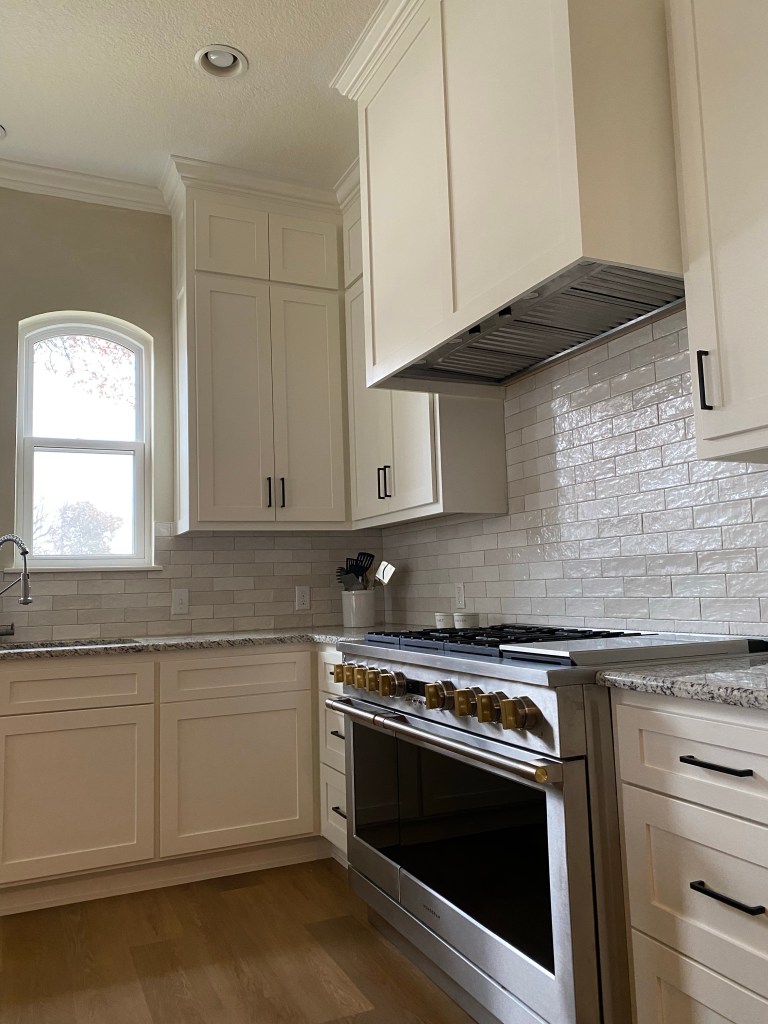
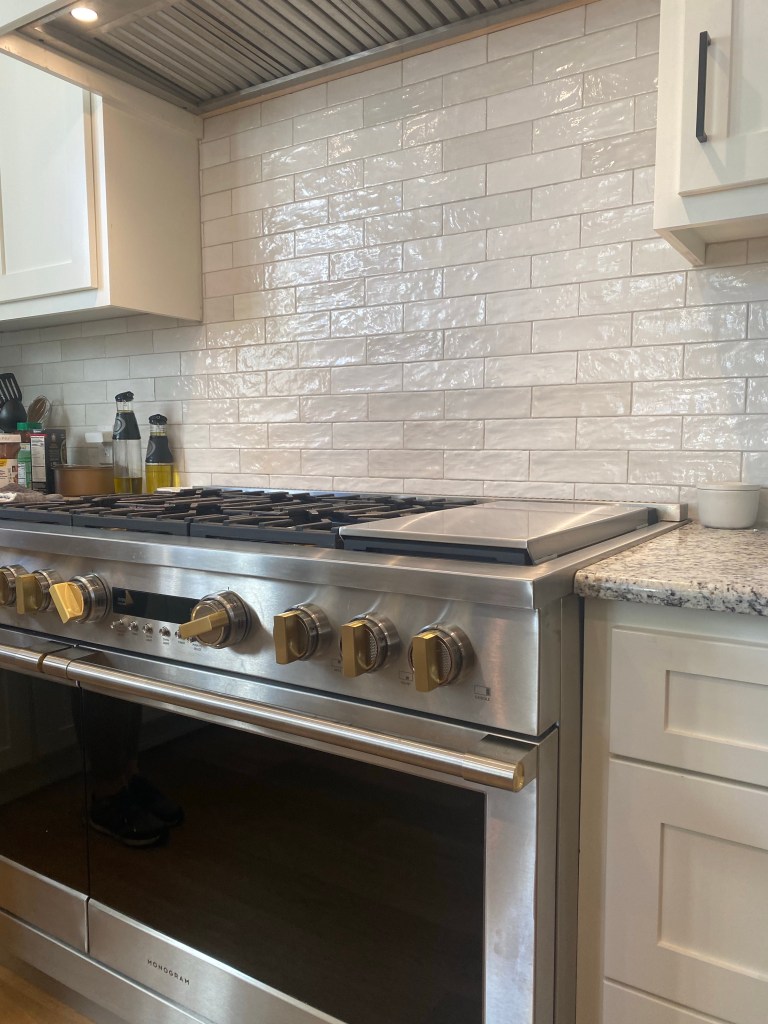
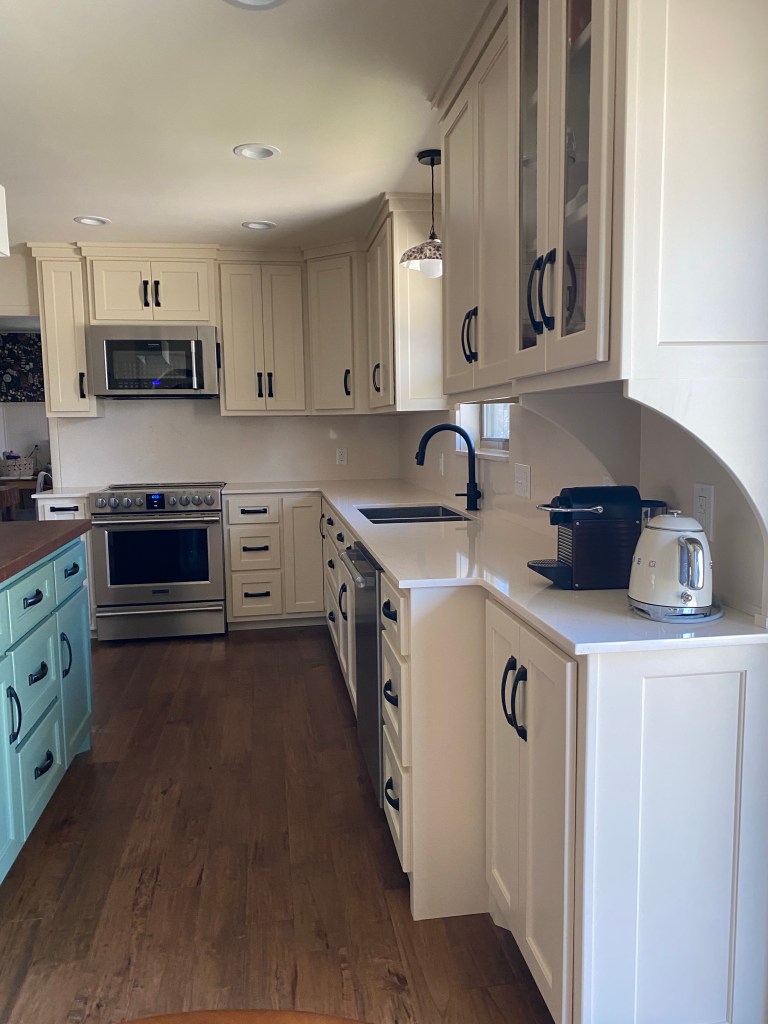
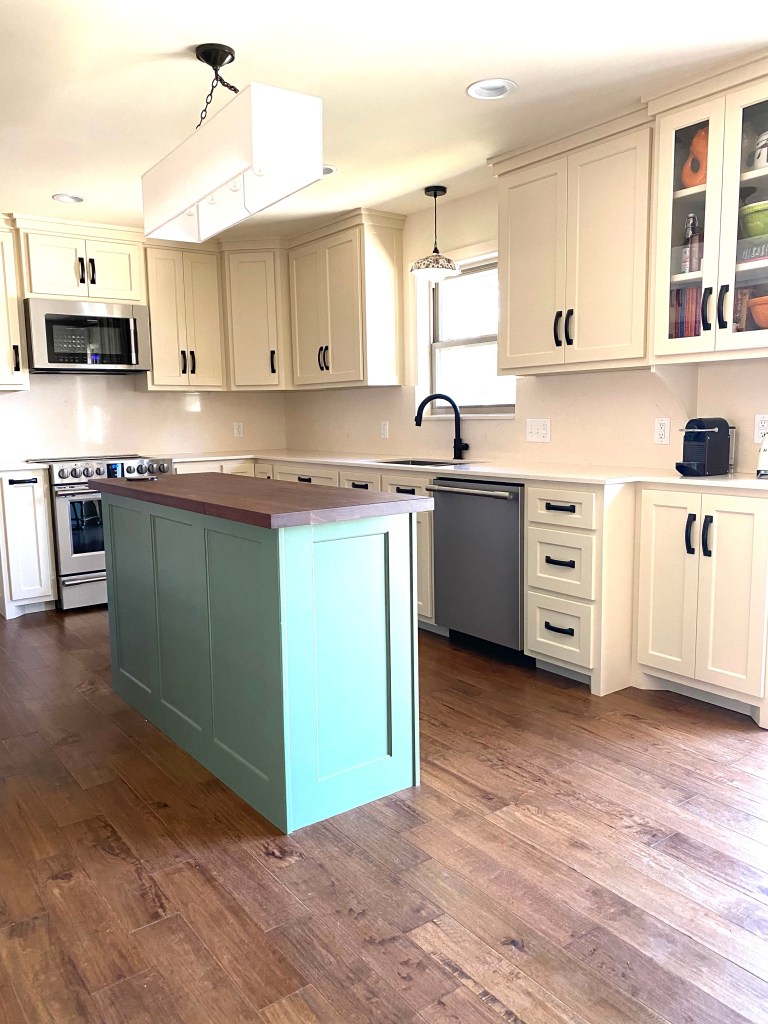
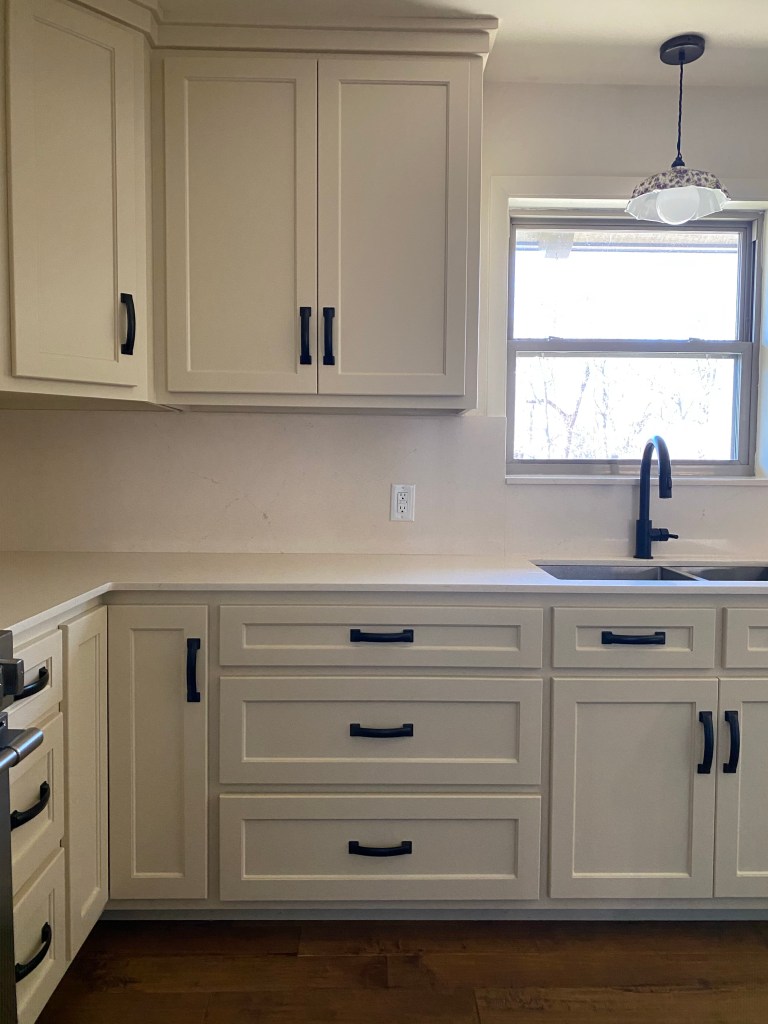
In addition to new lighting and electrical, we chose new cabinets, with plenty of special features. We also selected new cream-colored granite for the majority of the cabinets and backsplash. We worked with New Century Countertops in Springdale and had a wonderful experience. The bar top and island top is a custom walnut butcher block that John was thrilled about. John comes from a family of cabinet makers, so choosing this finish and material was something he really took ownership of. I love for my clients to really make the spaces we’re collaborating on representative of who they are as people. My goal as a designer is not to make every home I design look like my style. Rather, I choose to help my clients achieve the space they desire within their own taste and personal style. There is great joy and fulfillment for me in helping others create their dream space.
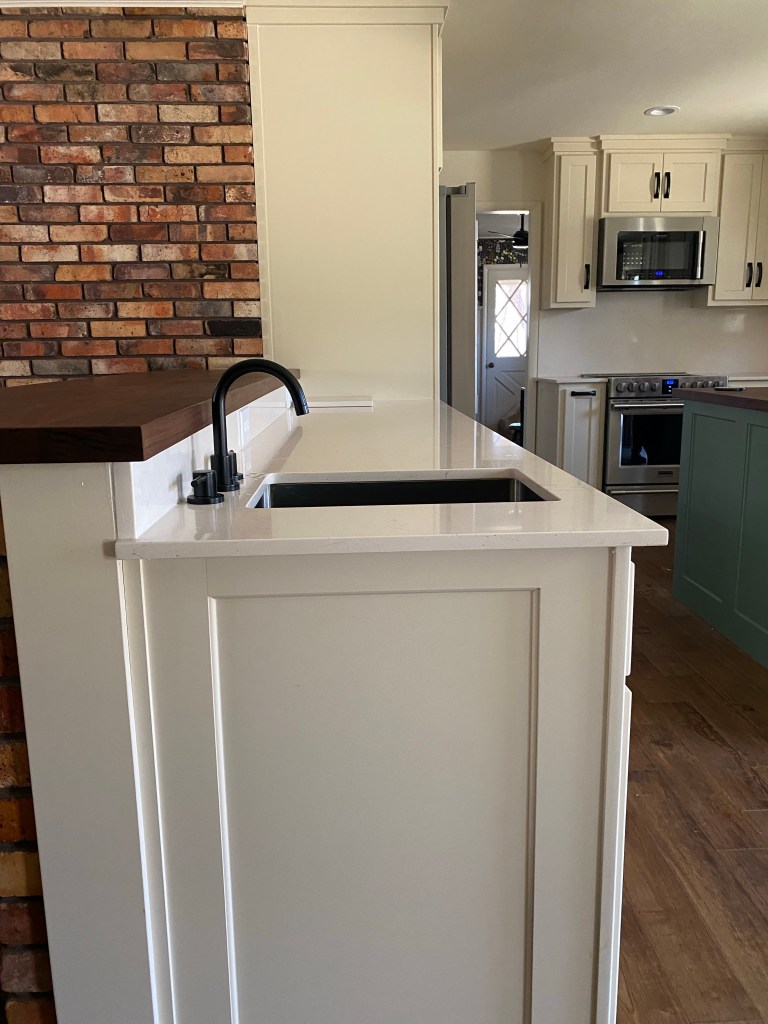

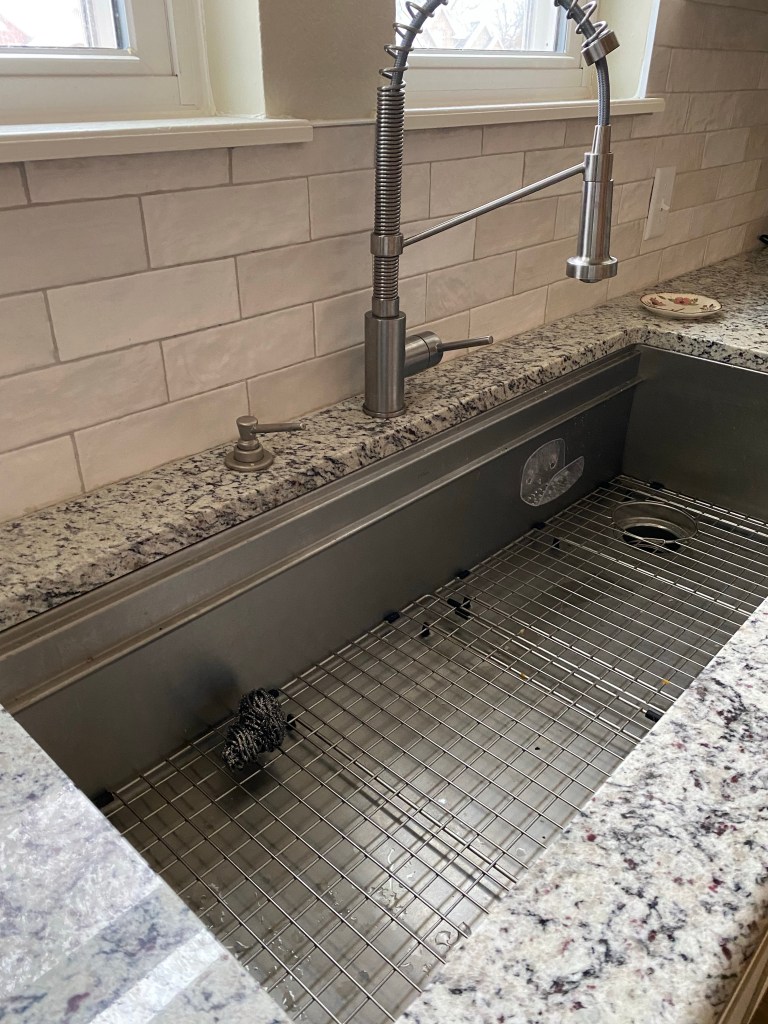
The Marquettes had already shopped for new appliances, and I helped them select this undermount 50/50 sink, as well as new plumbing fixtures. The cabinet hardware that we selected has been a surprising favorite for the Marquette’s. I chose a timeless, sturdy pull and the weight and size of the handles are just perfect.
The ceilings in the home were popcorn ceilings, so Kim did some research and heard that you could have the ceilings skim coated to update them. They hired Five Star Painting to do the skim coating, as well as all the painting, and the result is lovely.

Kim and I came across this purple pansy pendant online and had it shipped over from a small artisan shop in North England. Kim loves pansies because they’re such a strong, resilient flower that can withstand many different types of conditions. It’s such a fun accent piece that adds just a bit of personality and significance to the space.

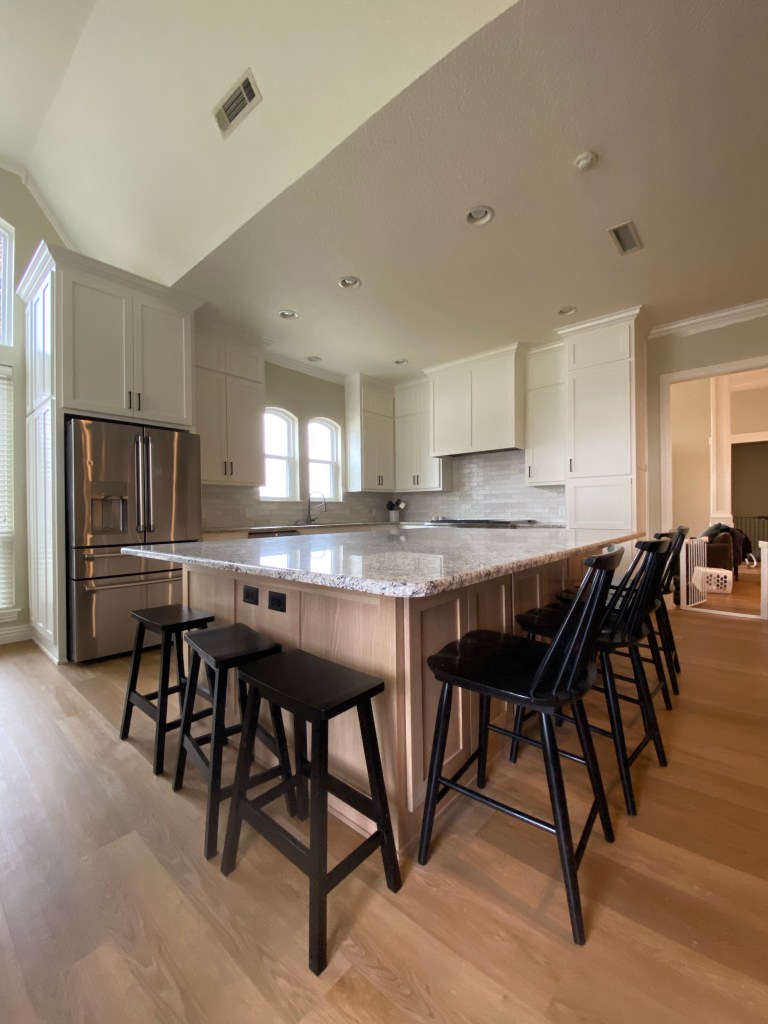
We added this rectangular island, with electrical and it has been a much needed addition to the space. The cabinets were built and installed by Browns Custom Cabinets. This is certainly not the last time I will work with Browns. The quality and craftsmanship are top notch. Browns was able to work in the space and add some great special features that Kim wanted. See a few videos below of Kim showing us what these cabinets can do. Why do I feel like I’m narrating a scene from Beauty and the Beast? Moving on…
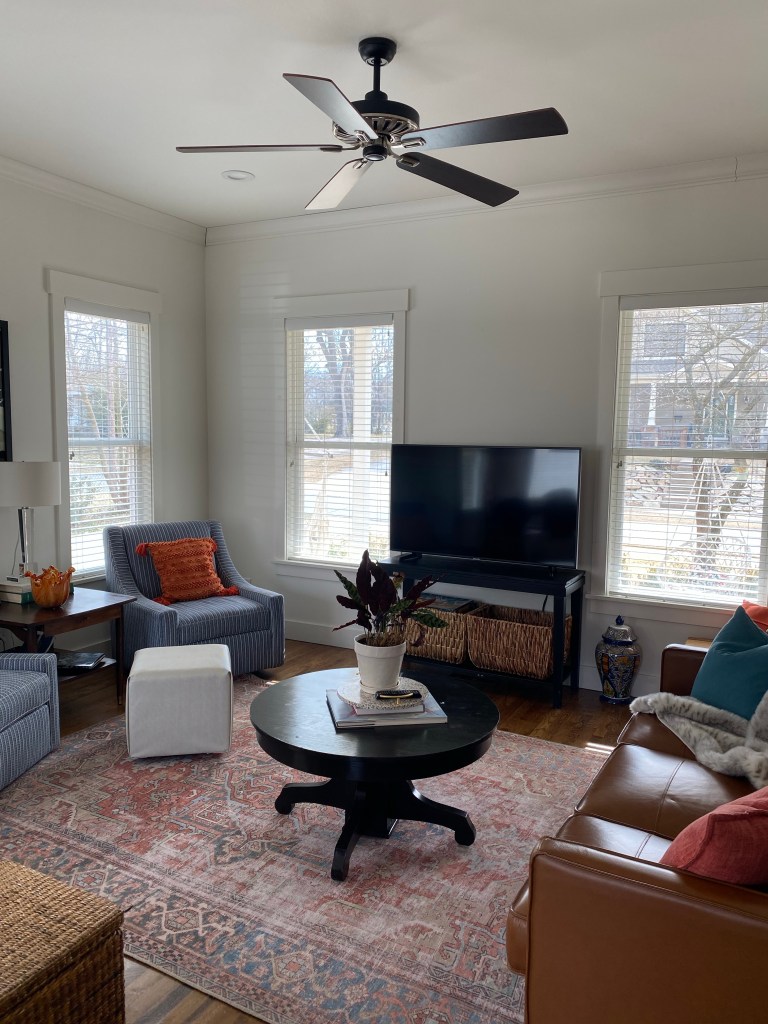
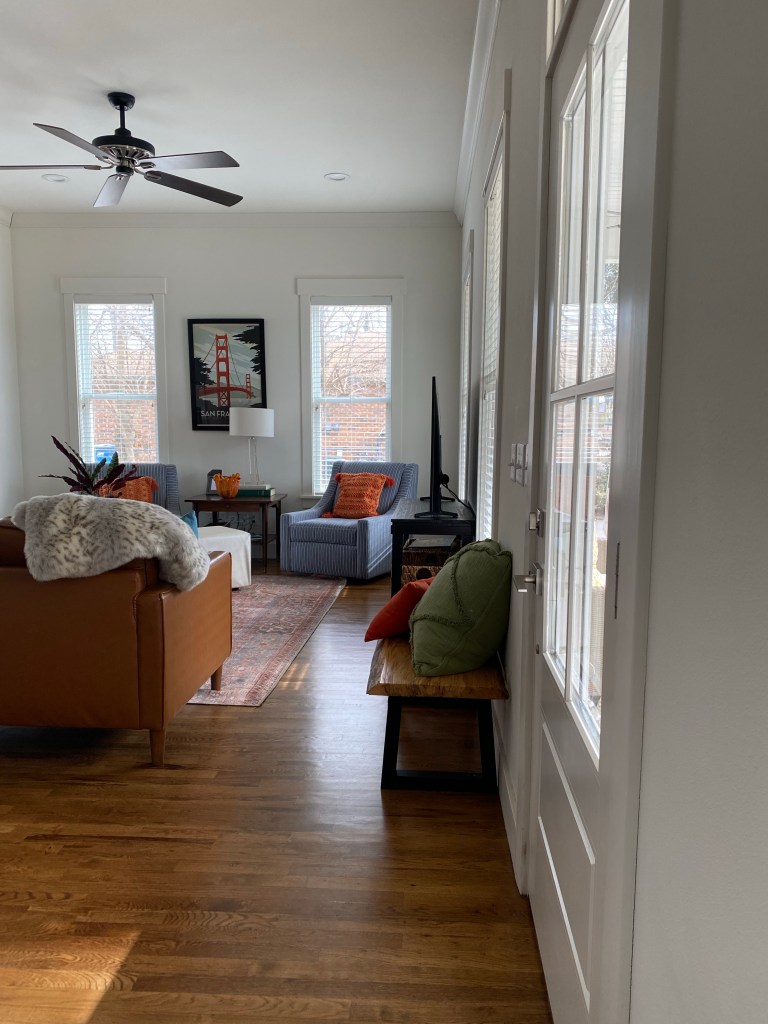
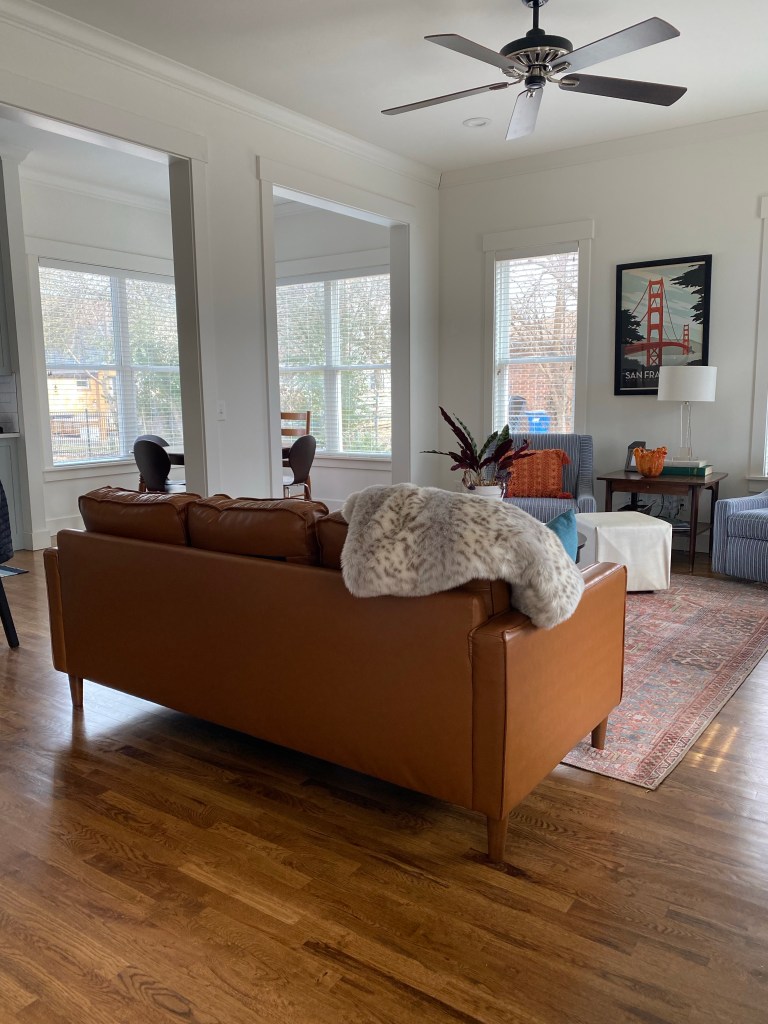
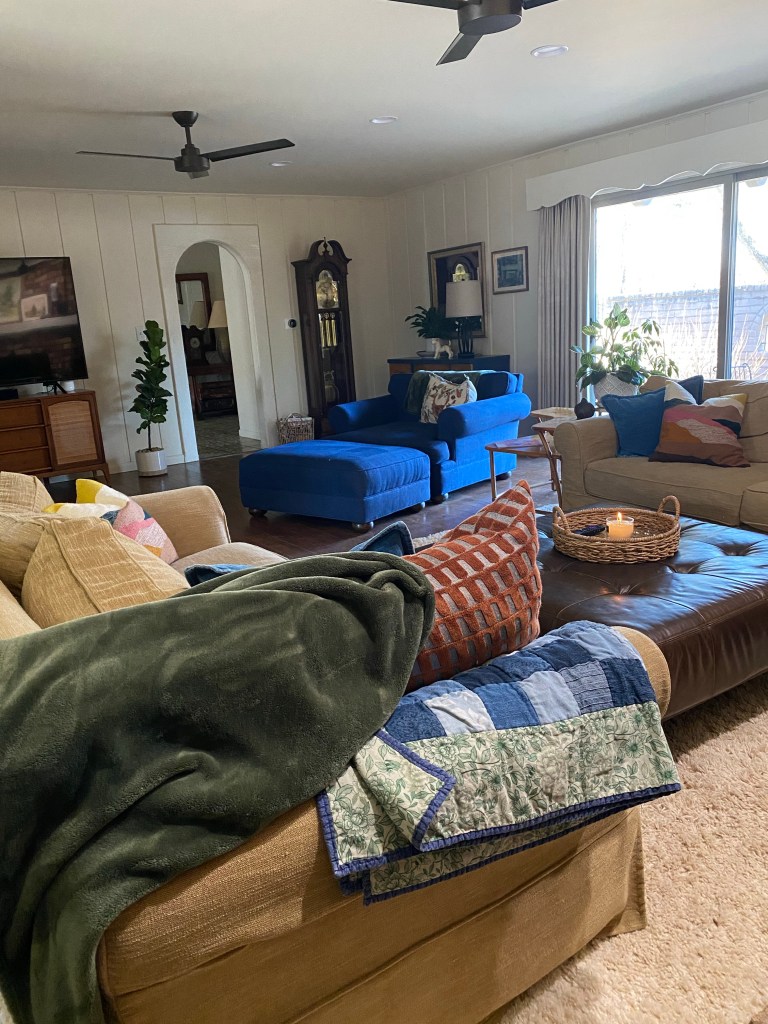
I added a couple pics of the Marquette’s adjacent living room, which was designed mostly by Kim with a tiny bit of help from her friends. Kim has a good eye and a really fun, bohemian style. We worked with a wonderful local seamstress for custom window treatments in both the living room and kitchen. Please reach out to me for her contact info. The fabric is from Fabric Gallery and they were amazing work alongside.

It may appear that this was a quick turnaround, but it definitely was not. The Marquette’s patiently dealt with supply chain issues and other delays. The final result is worth it and they are truly happy with their new space. I hope you like it, too!