Big news, y’all! We bought a house! Before I dive into the details of how we managed to find a house during a nationwide house shortage, here’s a brief overview:
A friend of ours mentioned to us that a mutual friend was planning to build a house and sell his current house, which happens to be in one of our fave neighborhoods. We saw the house, made an offer, and closed on it today. The sellers will rent the house from us till late November, which is the projected completion date for their new home. Didja catch all that?
Here’s how it went down, for those of you, like me, who love the details and a good story. We moved to northwest Arkansas about five years ago. When we moved here, our kids were pretty young and we’d been homeschooling them for several years. We transitioned to a university model school once we moved here, which meant that our kids would be in school two to three days a week and homeschooled the remaining days. Our house is twenty-ish minutes from our school, which I didn’t think would be a big deal to me. I was used to homeschooling full time and spending the majority of my days at home. But, the drive ended up being a really, really big deal to me. Within a year of making this drive several times a week, and often three to five times a day, I knew that we needed to move closer to school. When we bought our current house, we’d planned on renovating it to make the floorplan to work better for our family. Justin and I eventually decided to only modify the kitchen, since we knew our days in this house were numbered. After months of praying and talking and trying to make this house and location work, my husband and I decided that we would list our house and start actively looking for a house in Spring of 2020. Right about the time we were ready to get the ball rolling, the lockdowns began. We weren’t comfortable making plans to buy and sell a home during such an uncertain time, so we put our plans on hold indefinitely.
While we were waiting, I was looking at homes on zillow like an obsessed house stalker. I drove through neighborhoods and approached the owners of homes I liked and gave them my contact information. I prayer-walked circles around our current house asking for God’s direction and provision. I made a list of what we wanted in our next home and prayed through it often. I even had a couple dear friends praying specifically through the same list. We thought we’d found a lot to build on, but the increasing building prices put a halt to that in a hurry. We thought we’d found a house that would work, and we even made an offer on it, but it fell through during negotiations. It seemed like we were in a holding pattern for months and months. I would see a house I loved and it would immediately go off the market. I even joked with our realtor that I was a magnet for unavailable houses. I waffled between resting in God’s timing and provision and, in my lowest (and most dramatic) moments, feeling like He’d forgotten about us.
This past April, we were sharing our discouragement about the house situation with our community group when one of our friends mentioned that a mutual friend would eventually have a house to sell. As soon as we got home from community group, I asked Justin to reach out to our mutual friend and ask him about his house. He immediately responded and even sent us a floorplan from when the house was originally built. Once I saw the floorplan, I knew this house was a good option for us. We looked up an old zillow listing and could see from the old pictures that the house had all the spaces we wanted and a really good layout. I was already very familiar with this neighborhood because it’s located close to school and church and it has so many things I was looking for in a neighborhood…a pool, park, walking trails, and close access to the Razorback greenway, just to name a few. Justin and I had a few days to think about the house before we went to see it. Justin came up with the idea of proposing to the sellers that we would buy the house from them now and they could rent it back from us while their new house was being built. We talked this over with our realtor and she agreed that it was a great idea due to the current low interest rates and the fact that our offer would likely be appealing to the sellers. We set up a time to see the house and we loved it. After walking through the house, we sat on the back porch with the owners (the sweetest people ever, btw) and chatted for about an hour. We pitched our idea to them and made a verbal offer. I was a nervous wreck as I was the one doing most of the talking, and Justin and I hadn’t exactly agreed to make an offer that day, which is just a little tiny detail. Oops? I felt like the time was right, so I went for it! Later on that day, Justin and I talked and he assured me that I was not in trouble for making an offer. I was relieved! I’m still laughing over this. After a few negotiations with the sellers, we set a closing date and the rest is history.
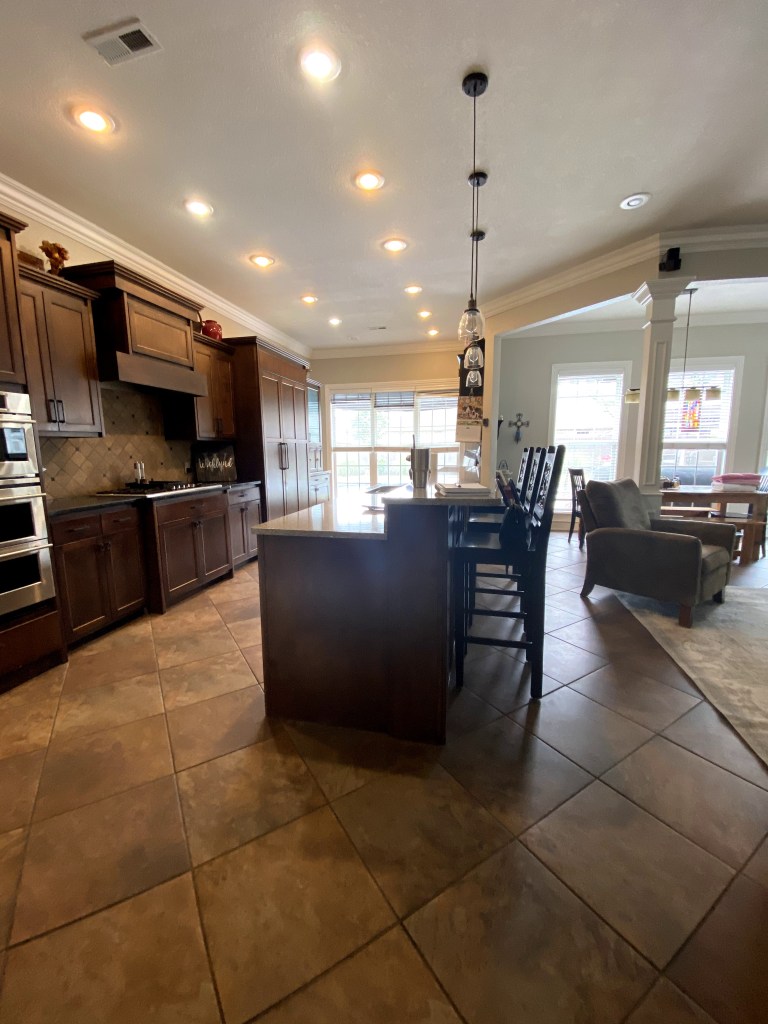
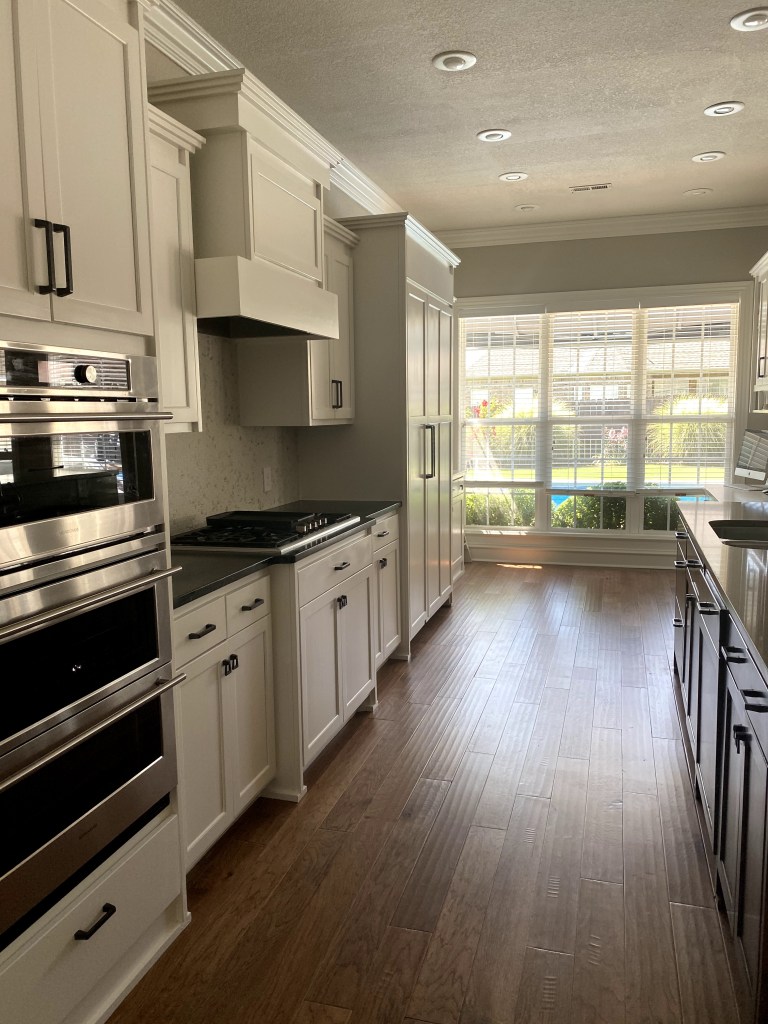
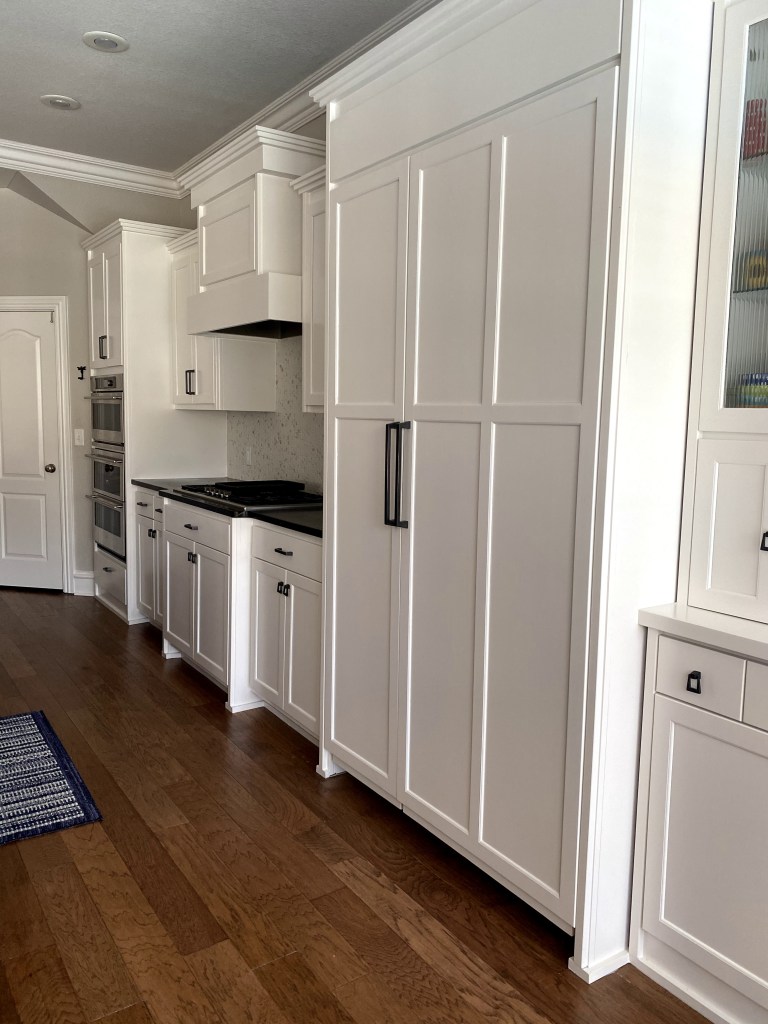
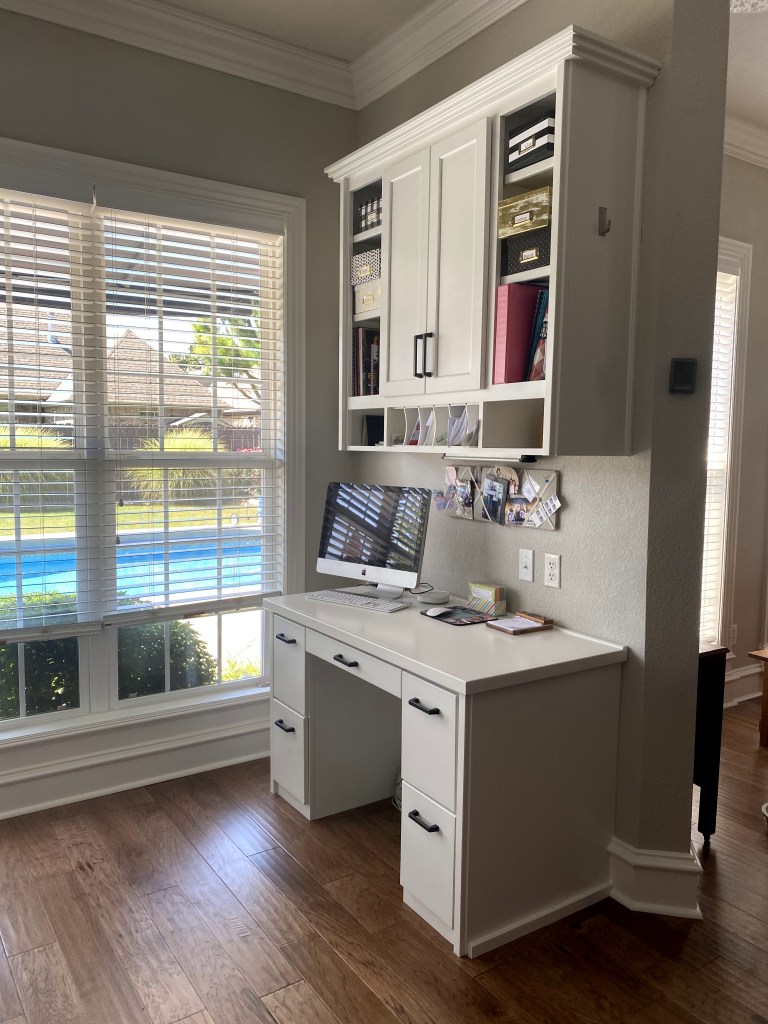
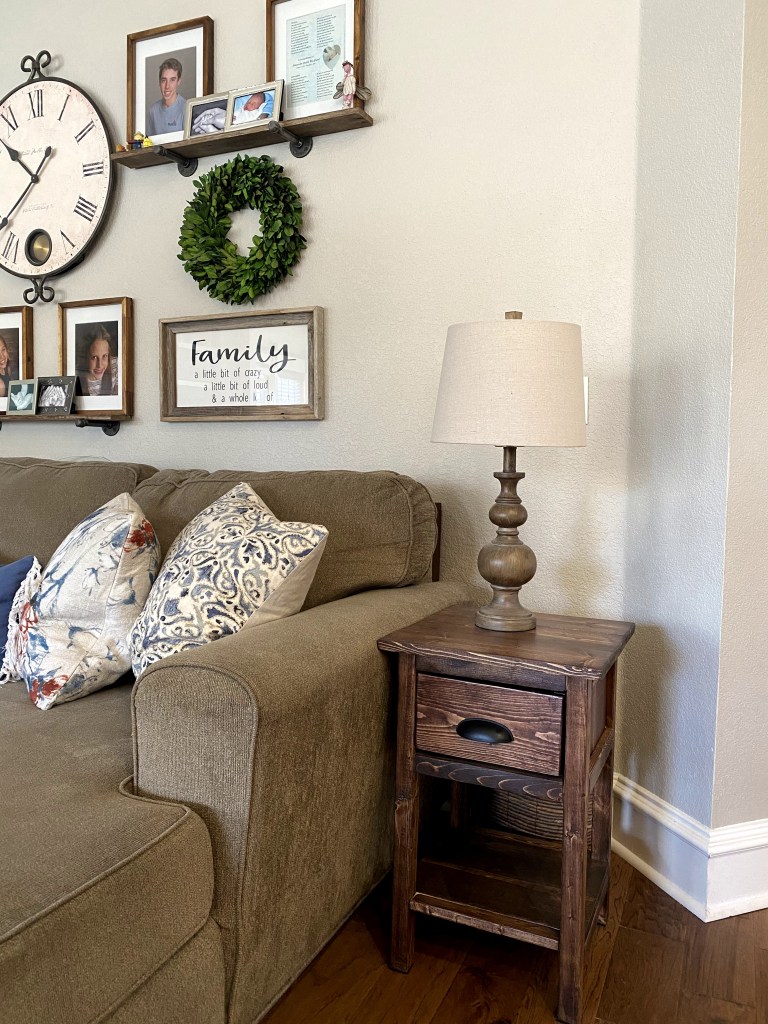
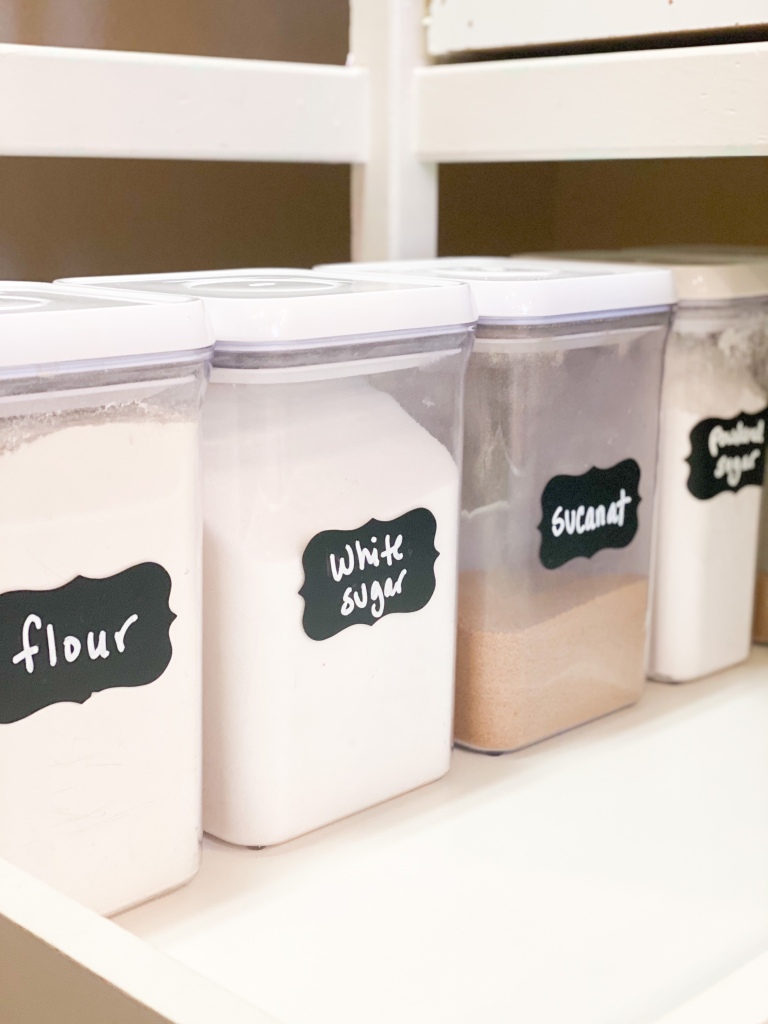
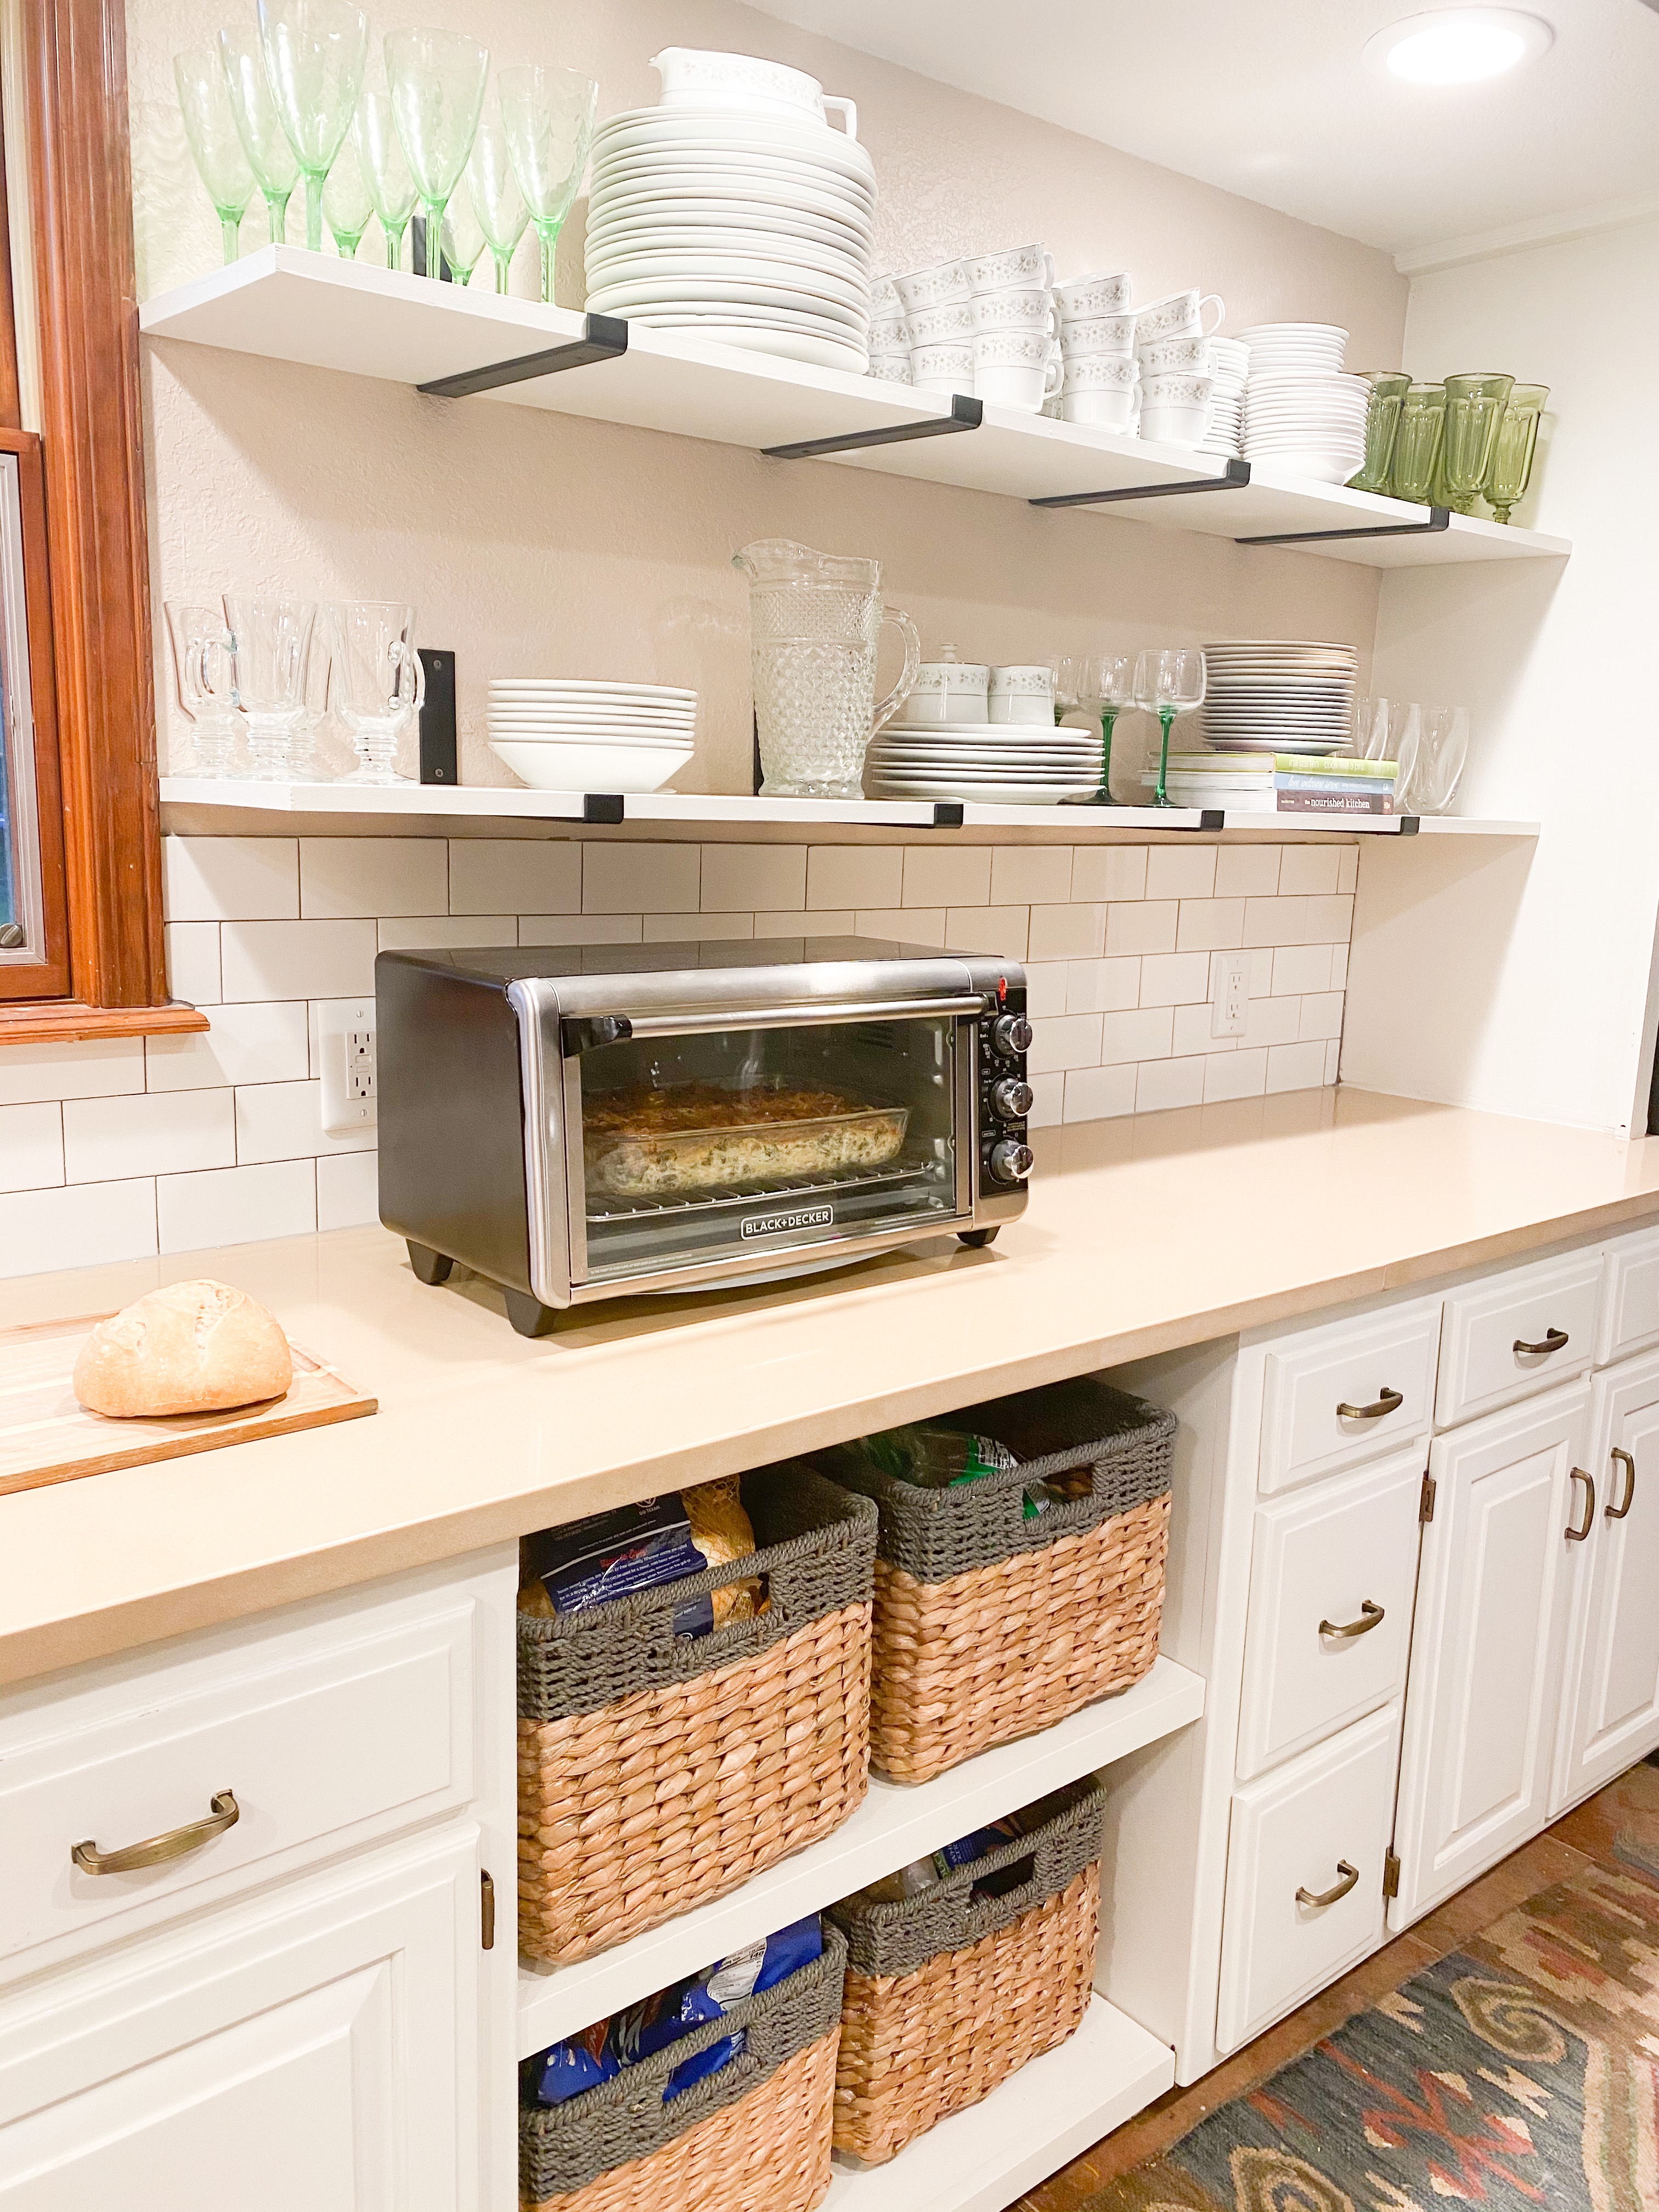
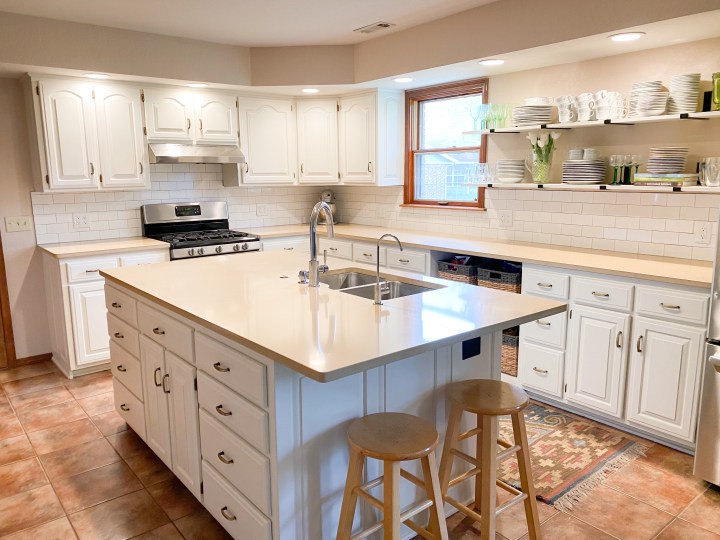
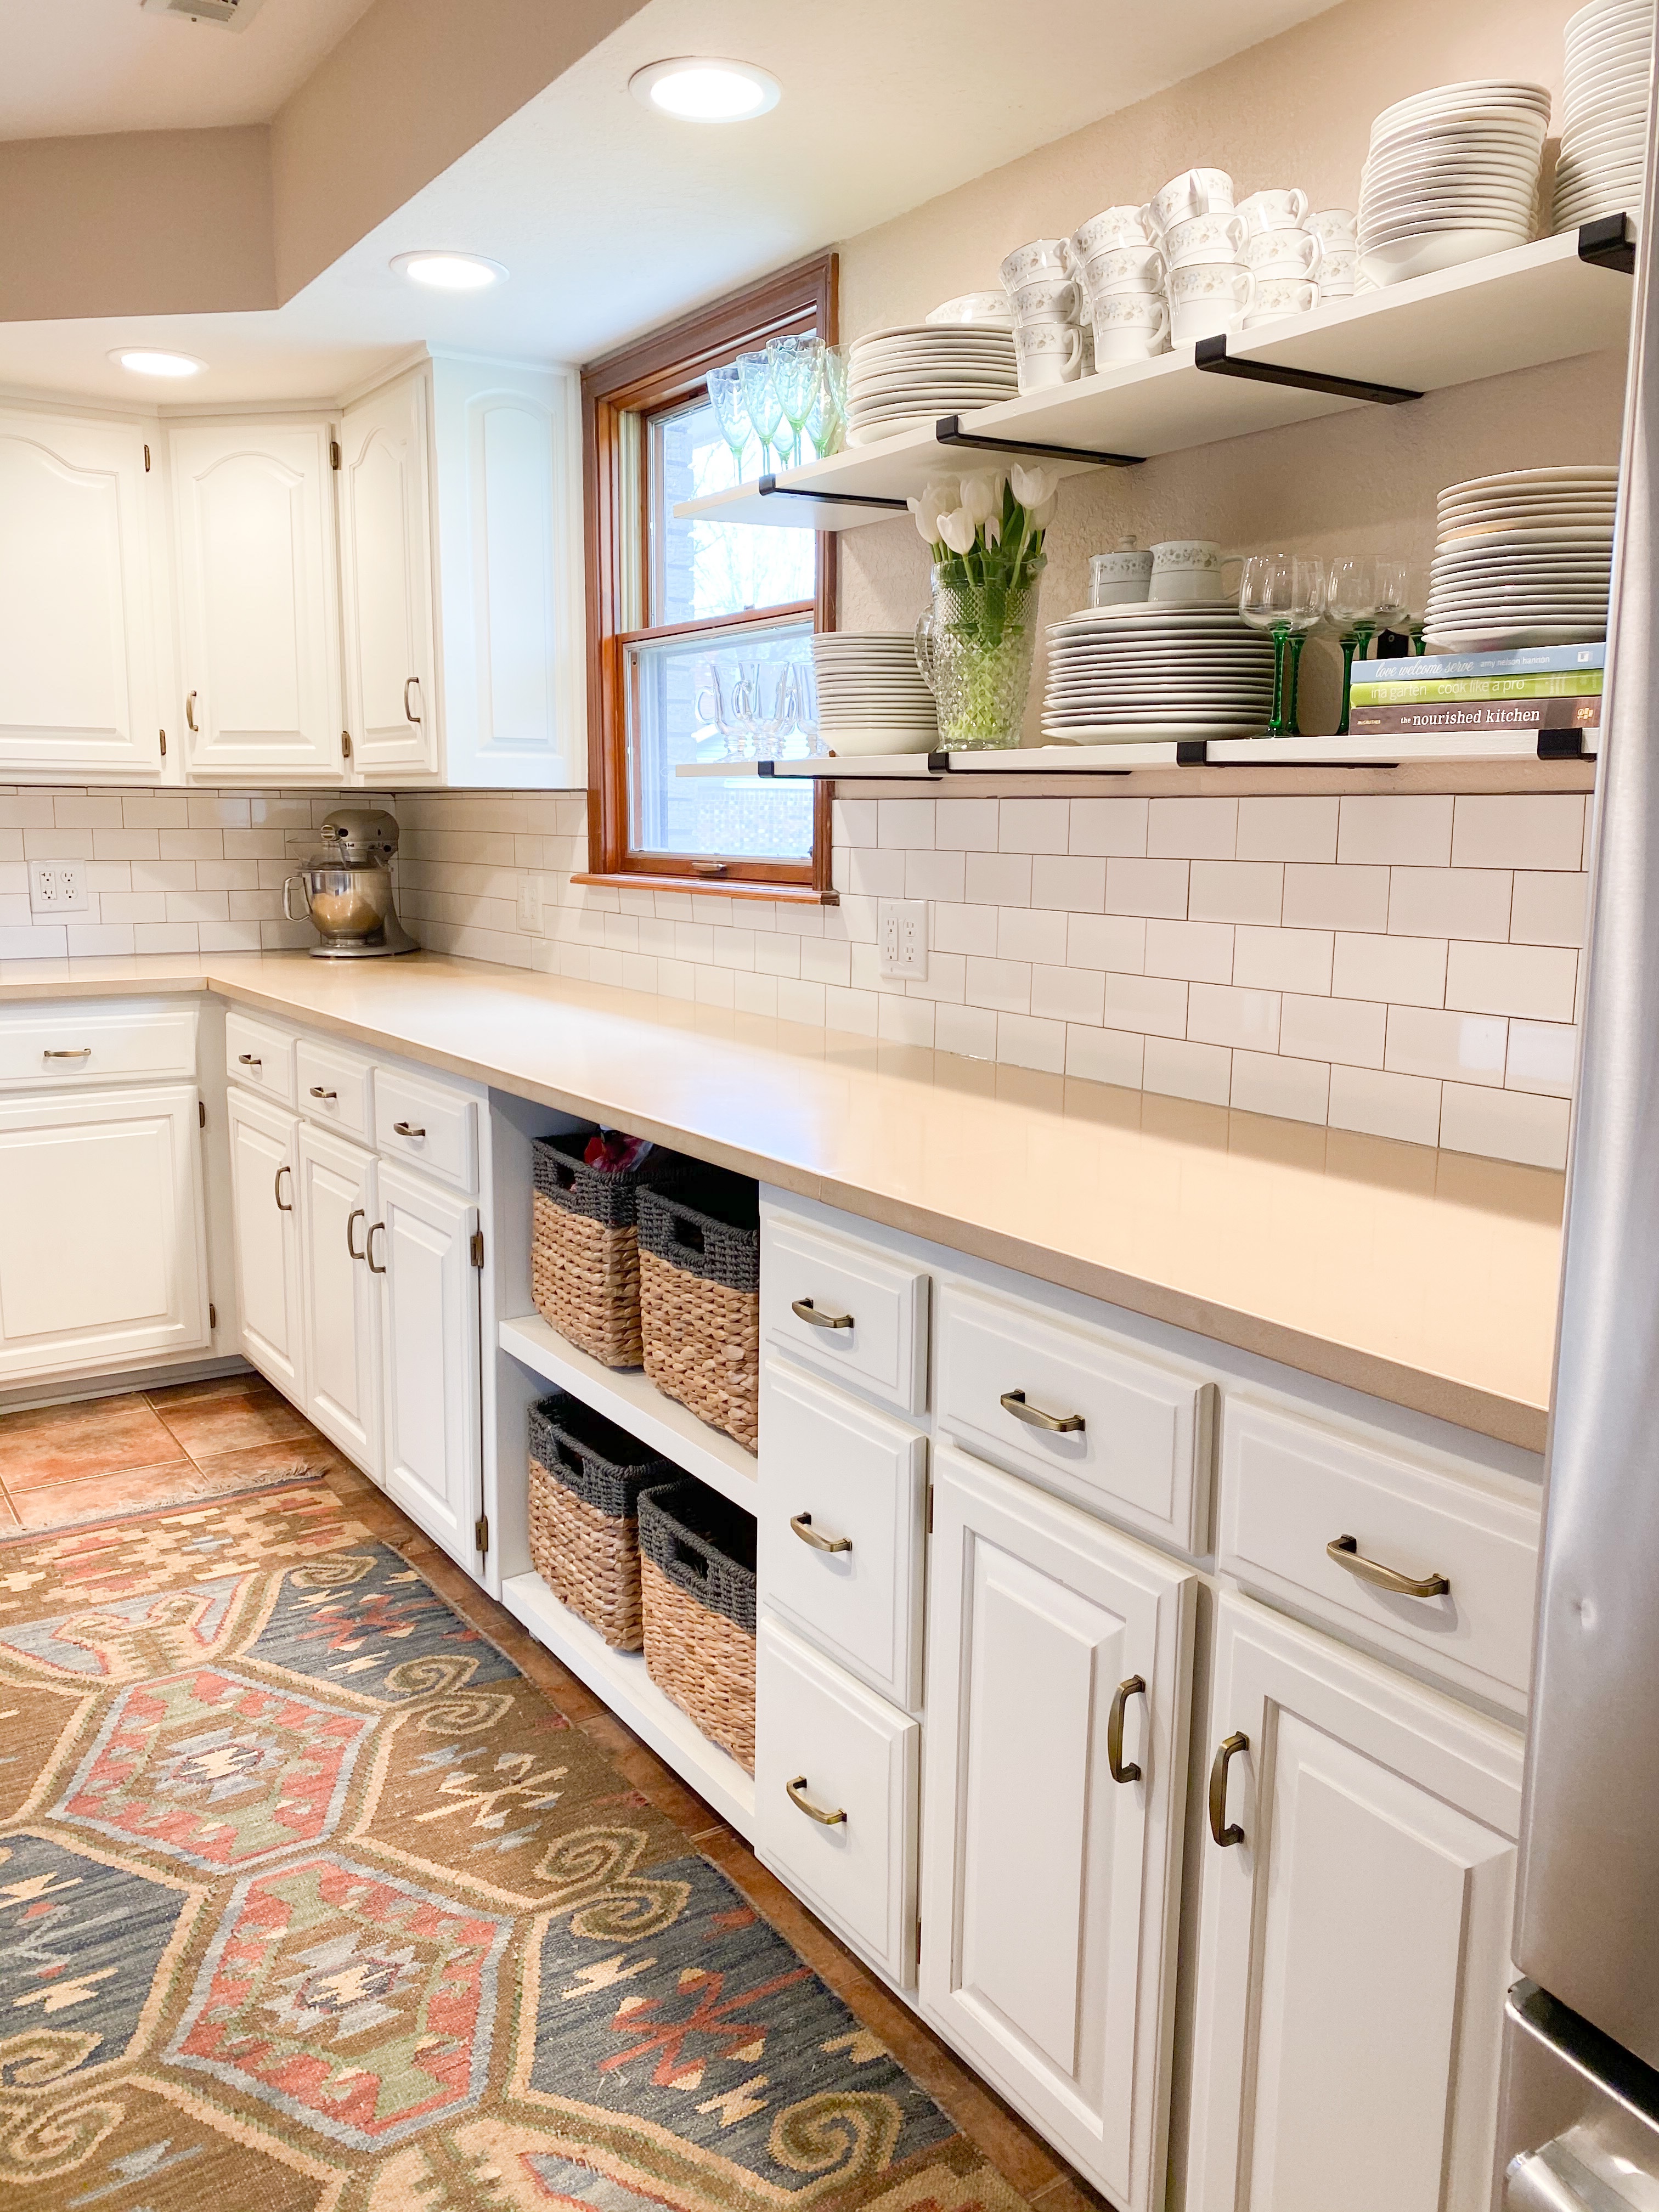
Our current plan is to list our house later this Summer or early Fall and move into our new house by the end of November. If you know someone who is wanting to move to northwest Arkansas, send them my way and I’ll connect them with our realtor. In the meantime, we’ll spend the summer swimming at our neighborhood pool in our new ‘hood and making design boards for our new space like the true house stalker that I am. I can’t wait to share our new place with all of you once we move in. Out of respect for the sellers, who have been the kindest, most accommodating people, we won’t be showing any interior pictures for now.
If you’re looking for a house in this crazy market and feeling discouraged, I hope our story gives you a glimmer of hope. We prayed and prayed and prayed for this house over the course of about 3 years. If you’re praying for a house too, reach out to me and I’ll be happy to pray for you, too. God worked out every single detail of this process and we are deeply grateful for His provision and timing.